Description: Restore marble bar top
Location: Central London
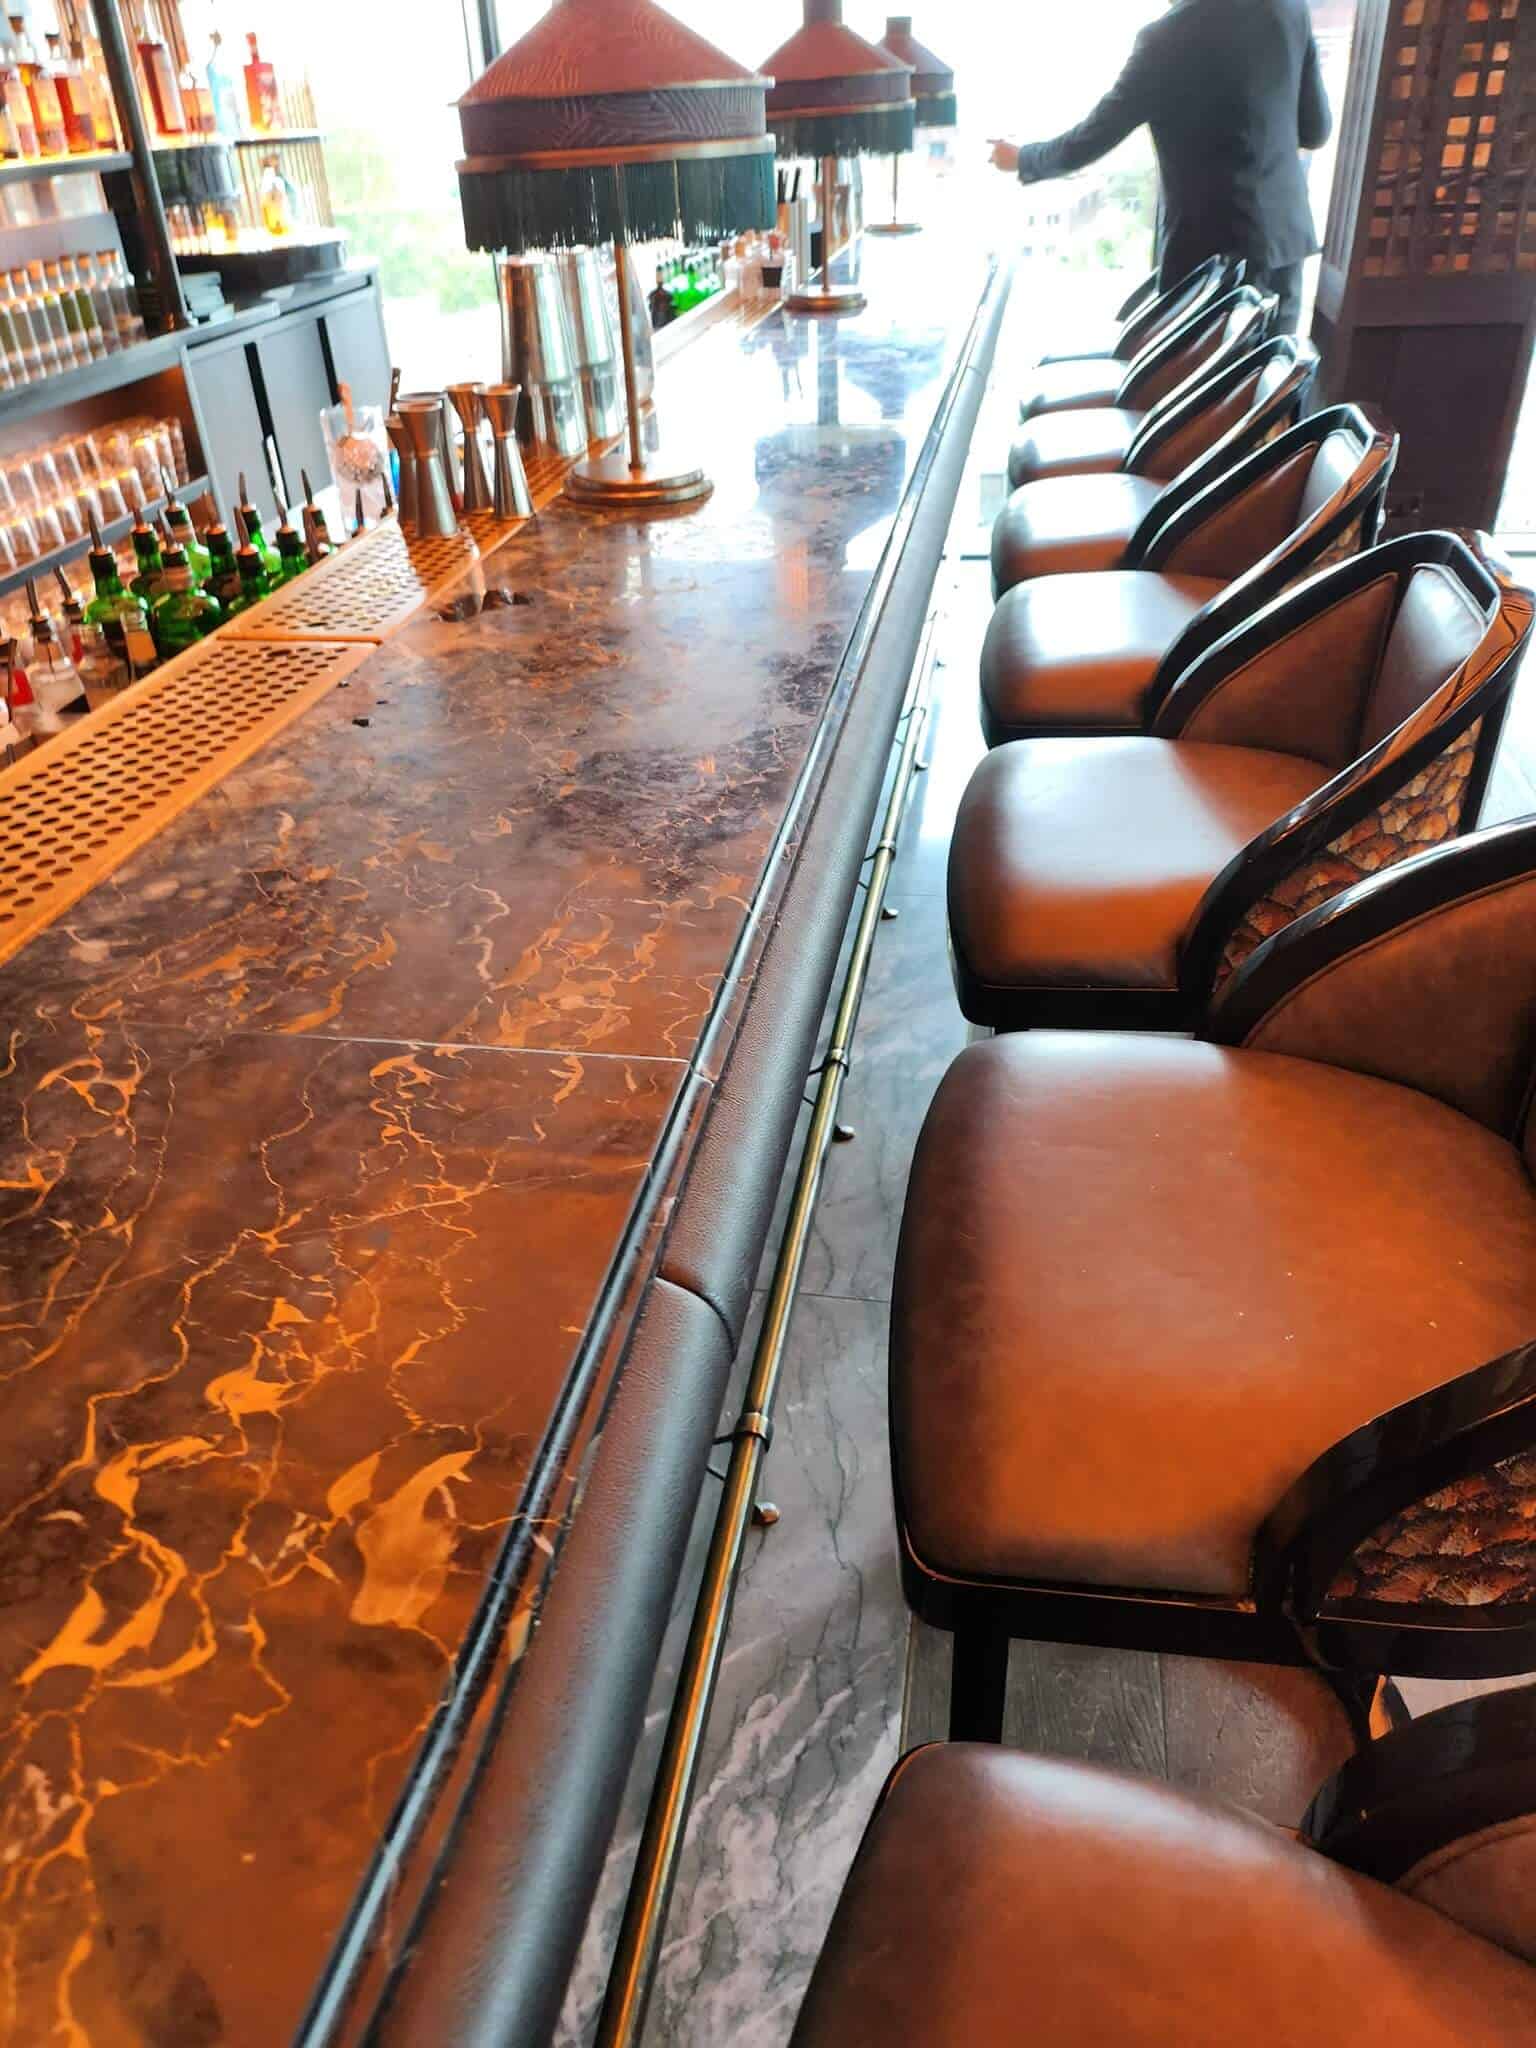
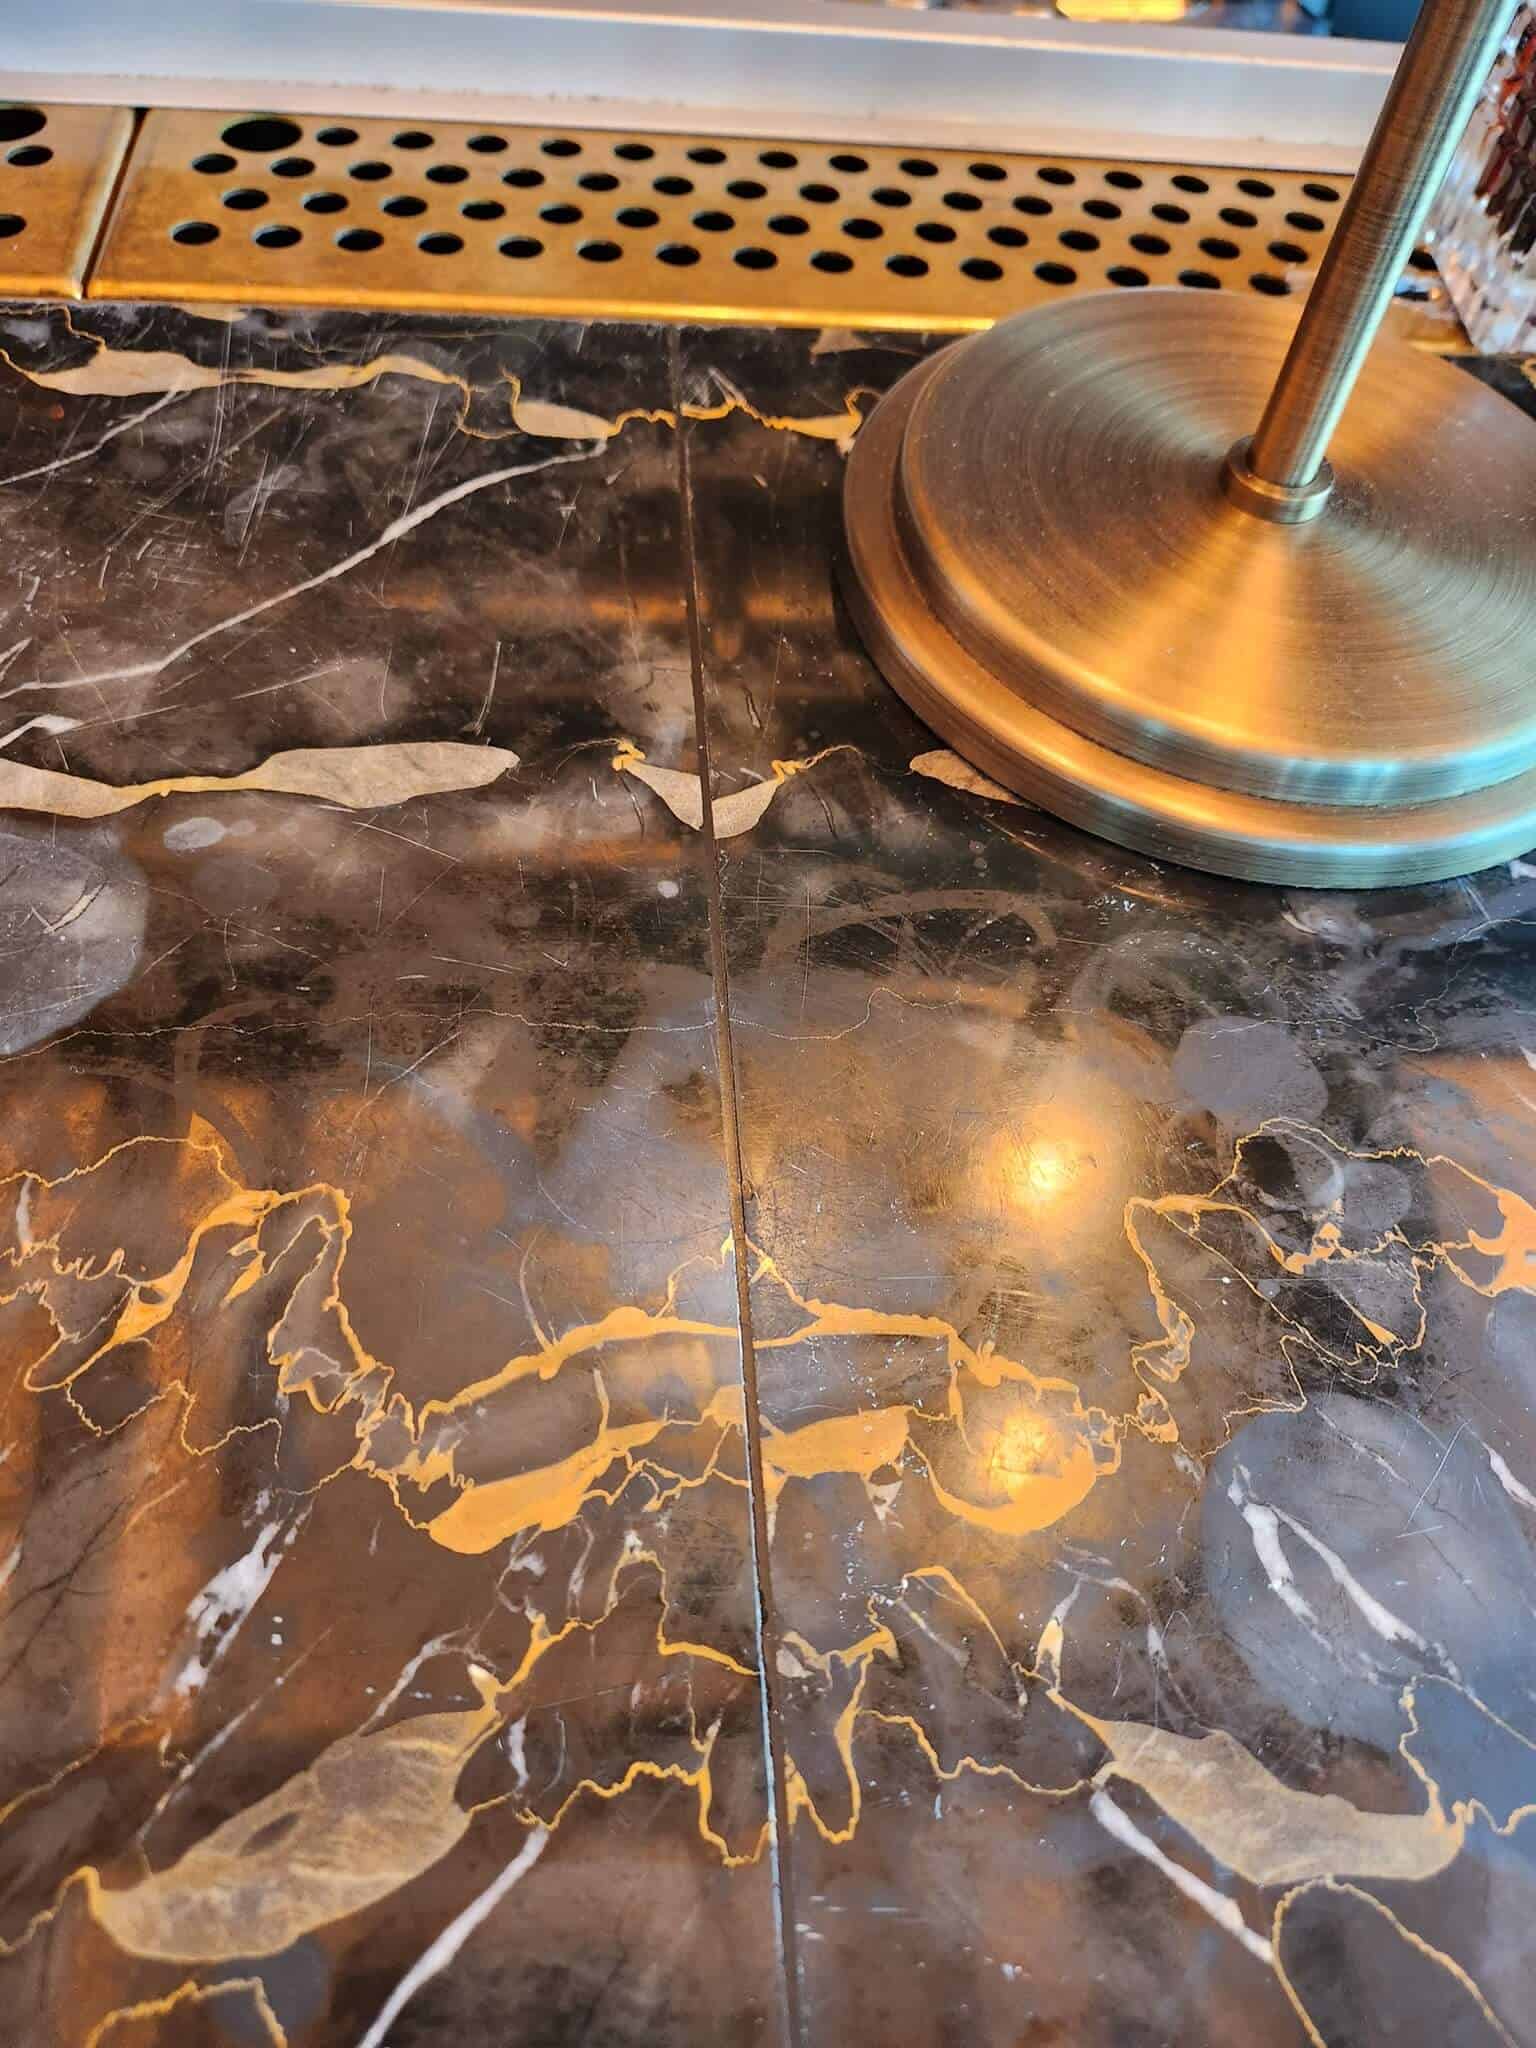
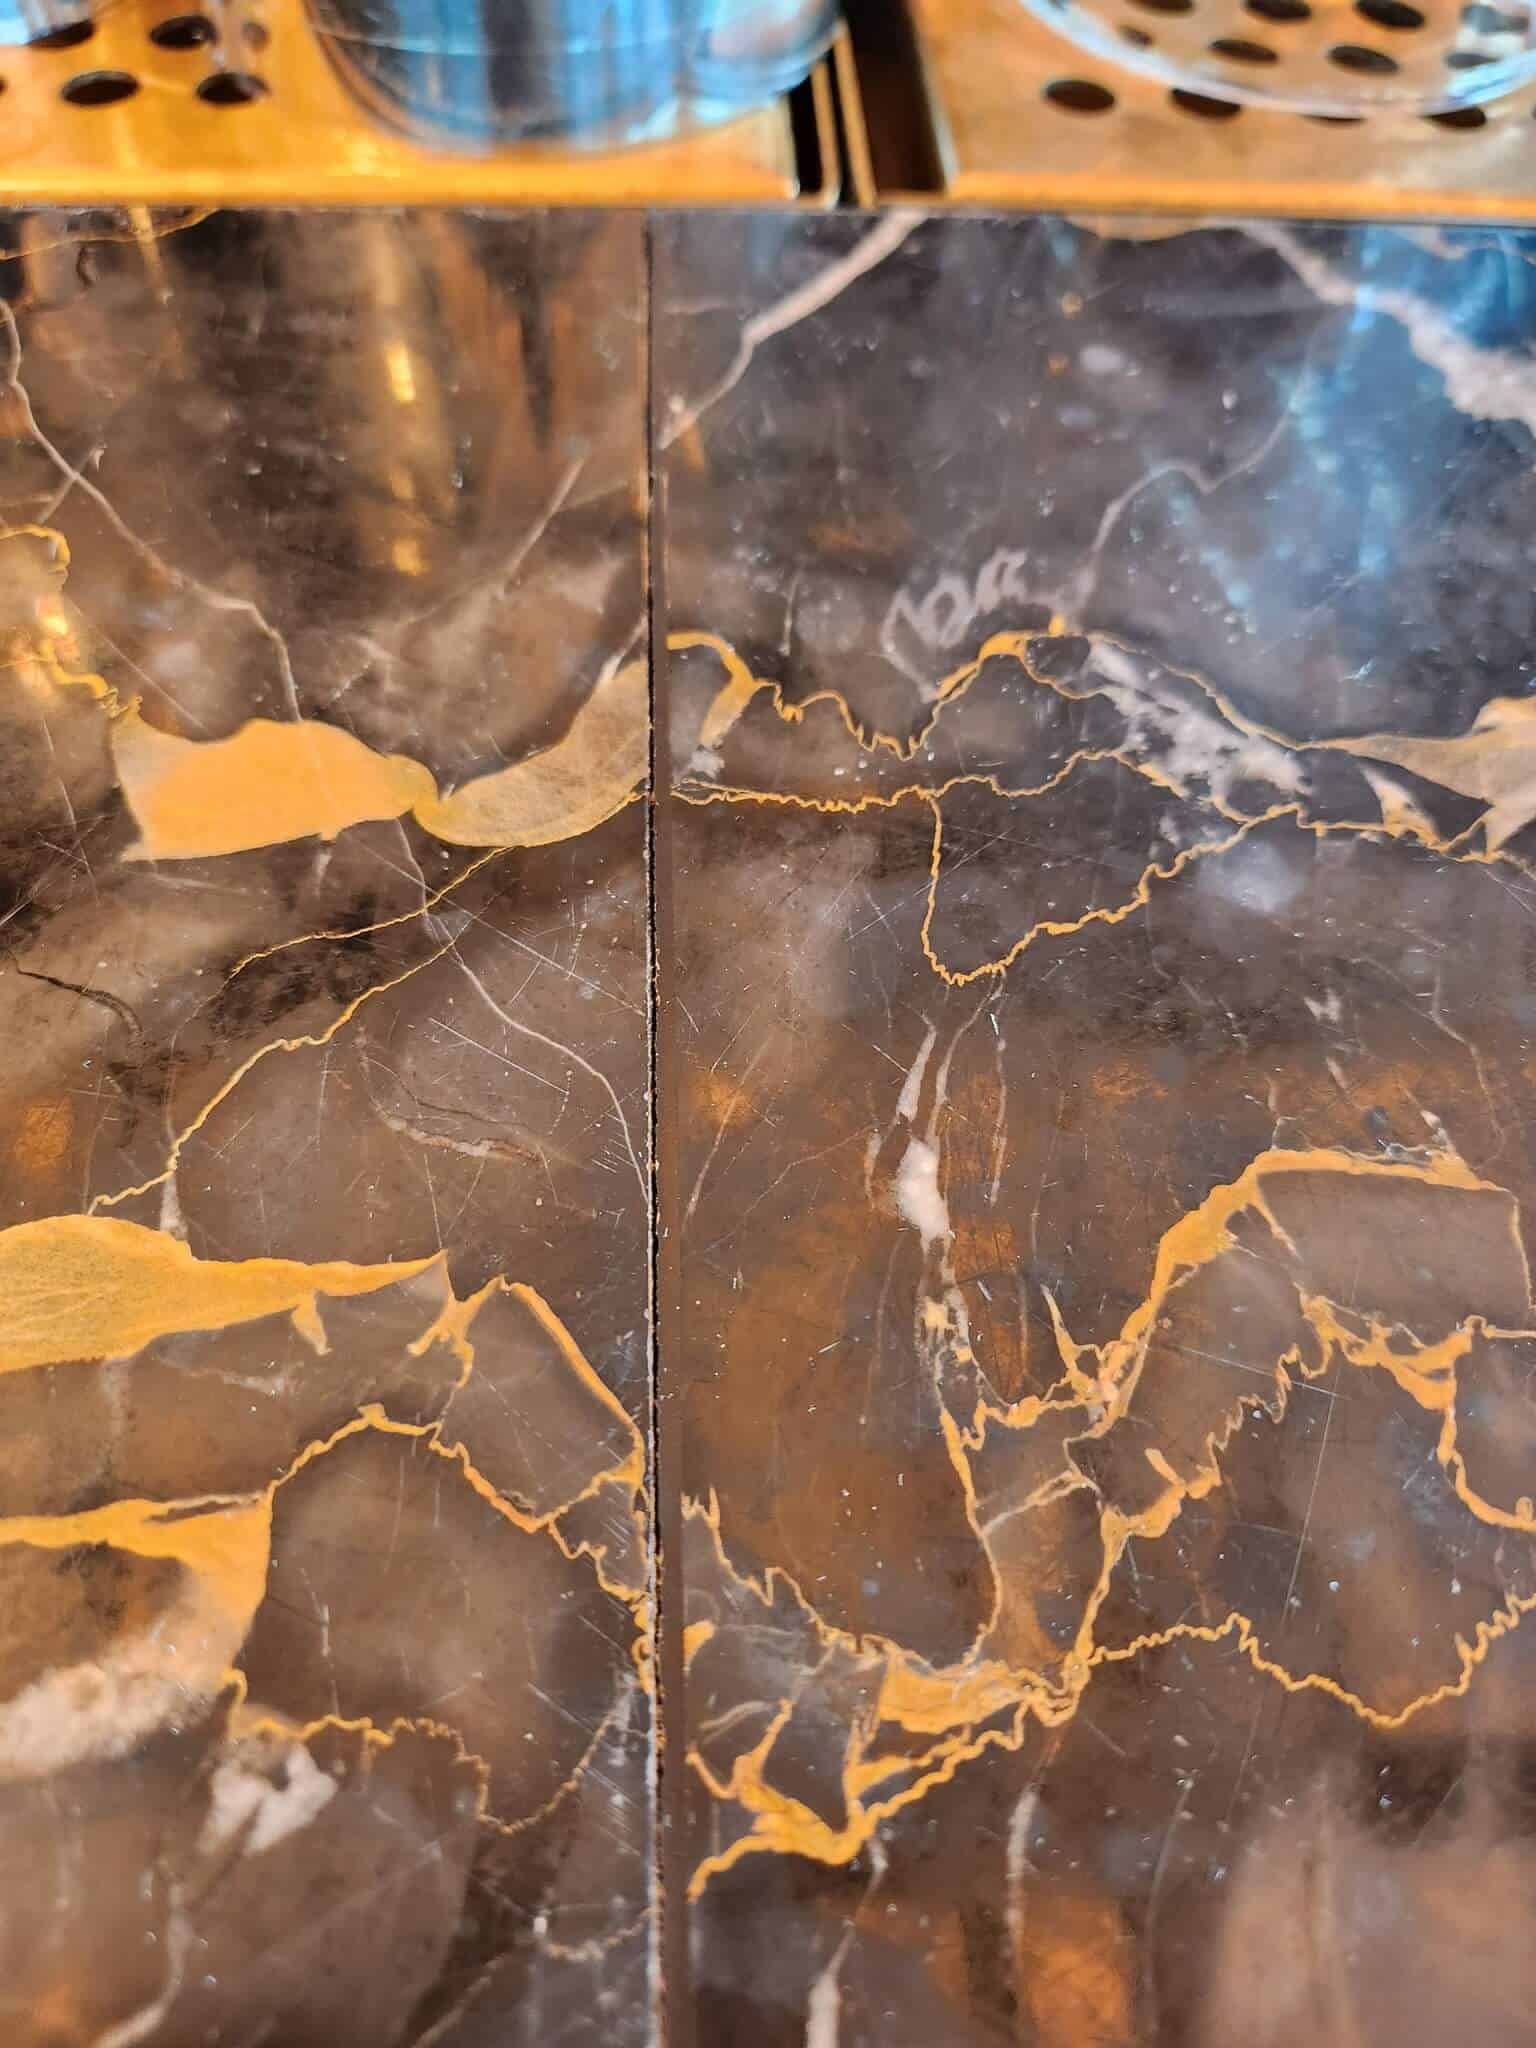
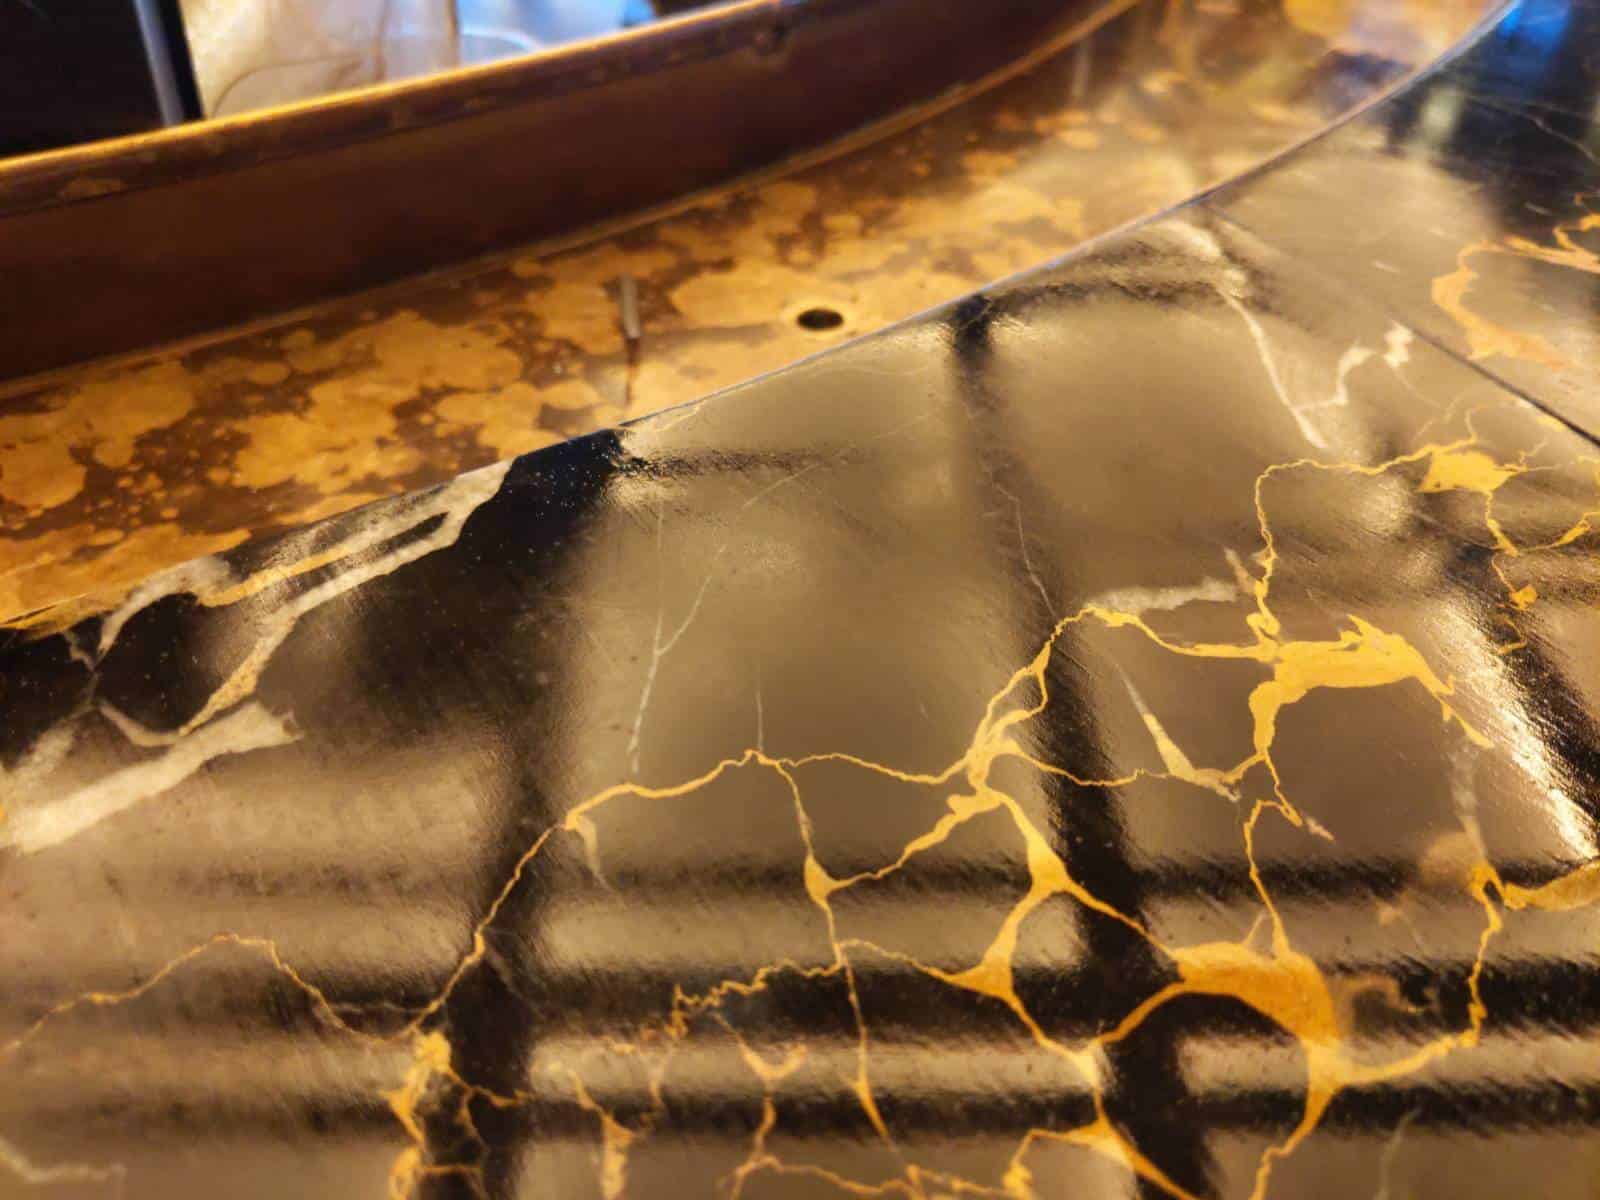
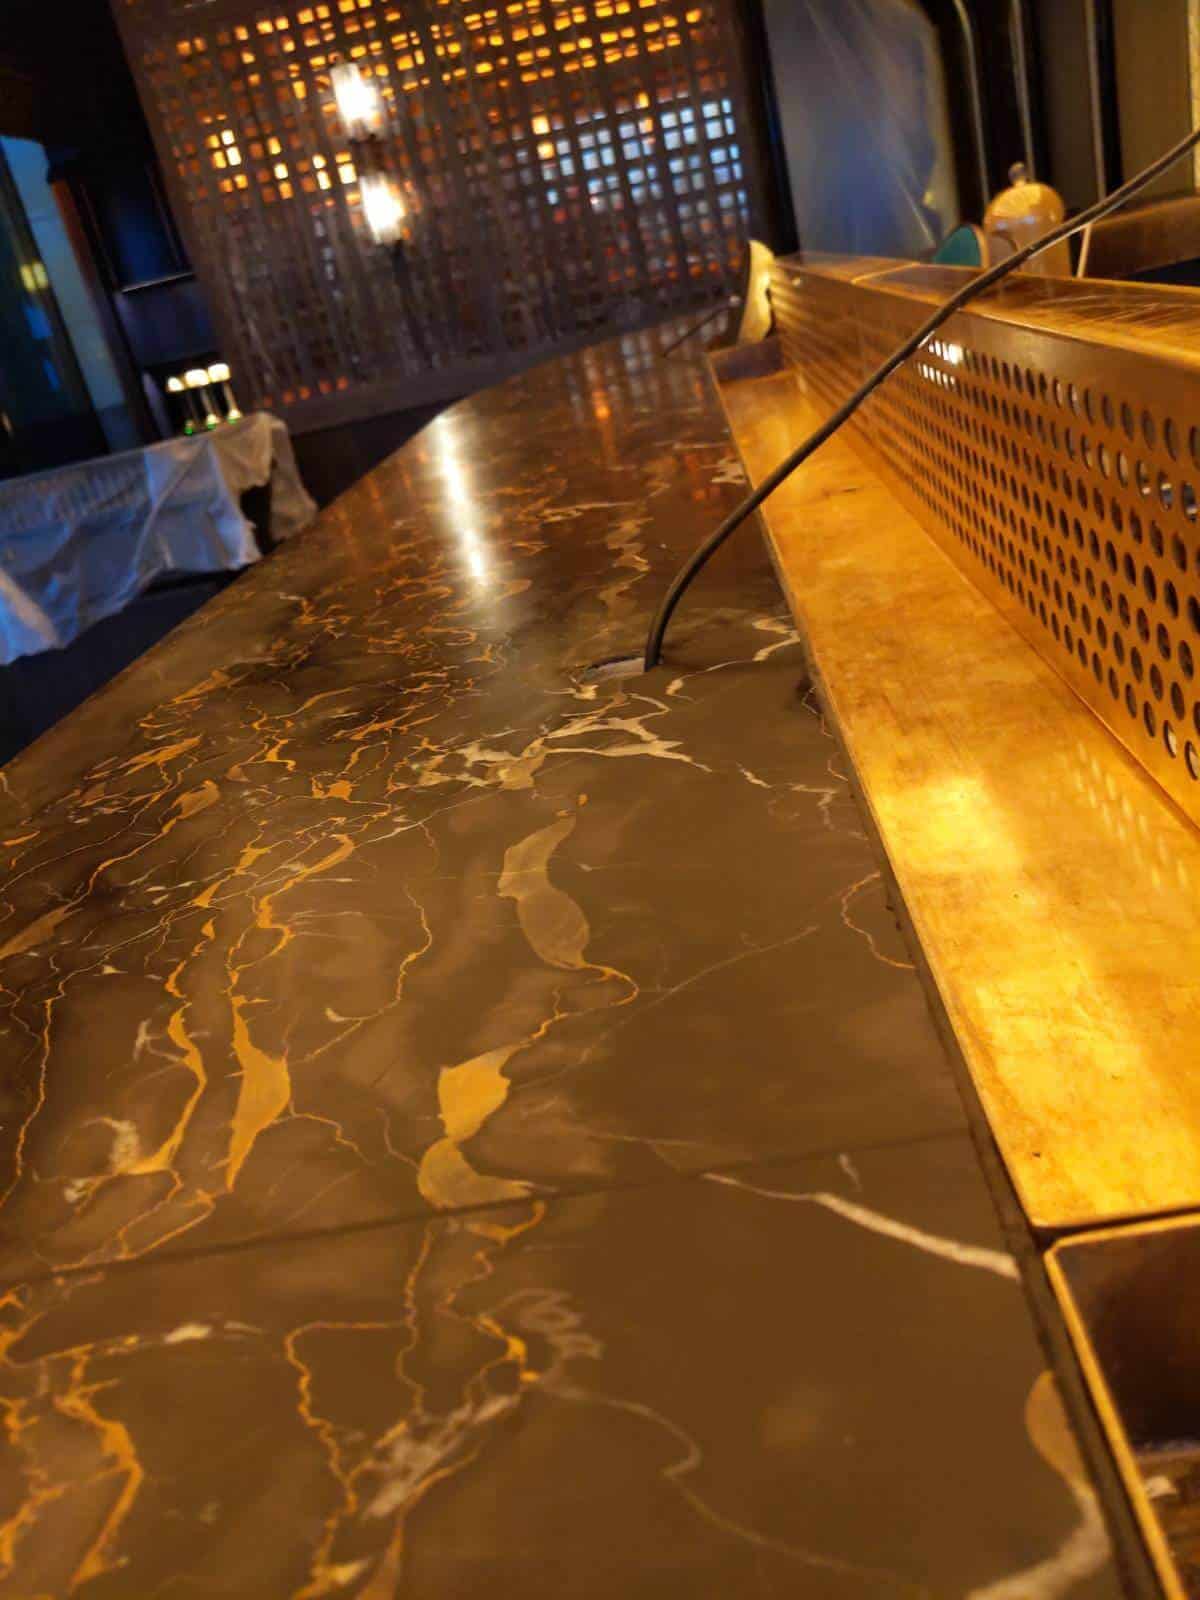
Marble bars are the epitome of luxury and sophistication, but over time, they can show signs of wear and tear, such as etch marks, missing grout, and scratches.
To restore the beauty of your marble bar, we’ll guide you through a meticulous process that includes removing etch marks, replacing missing grout, and eliminating scratches using artificial diamonds with various grits and water.
To ensure long-lasting protection, the marble will also be coated with a topical etch-resistant sealant.
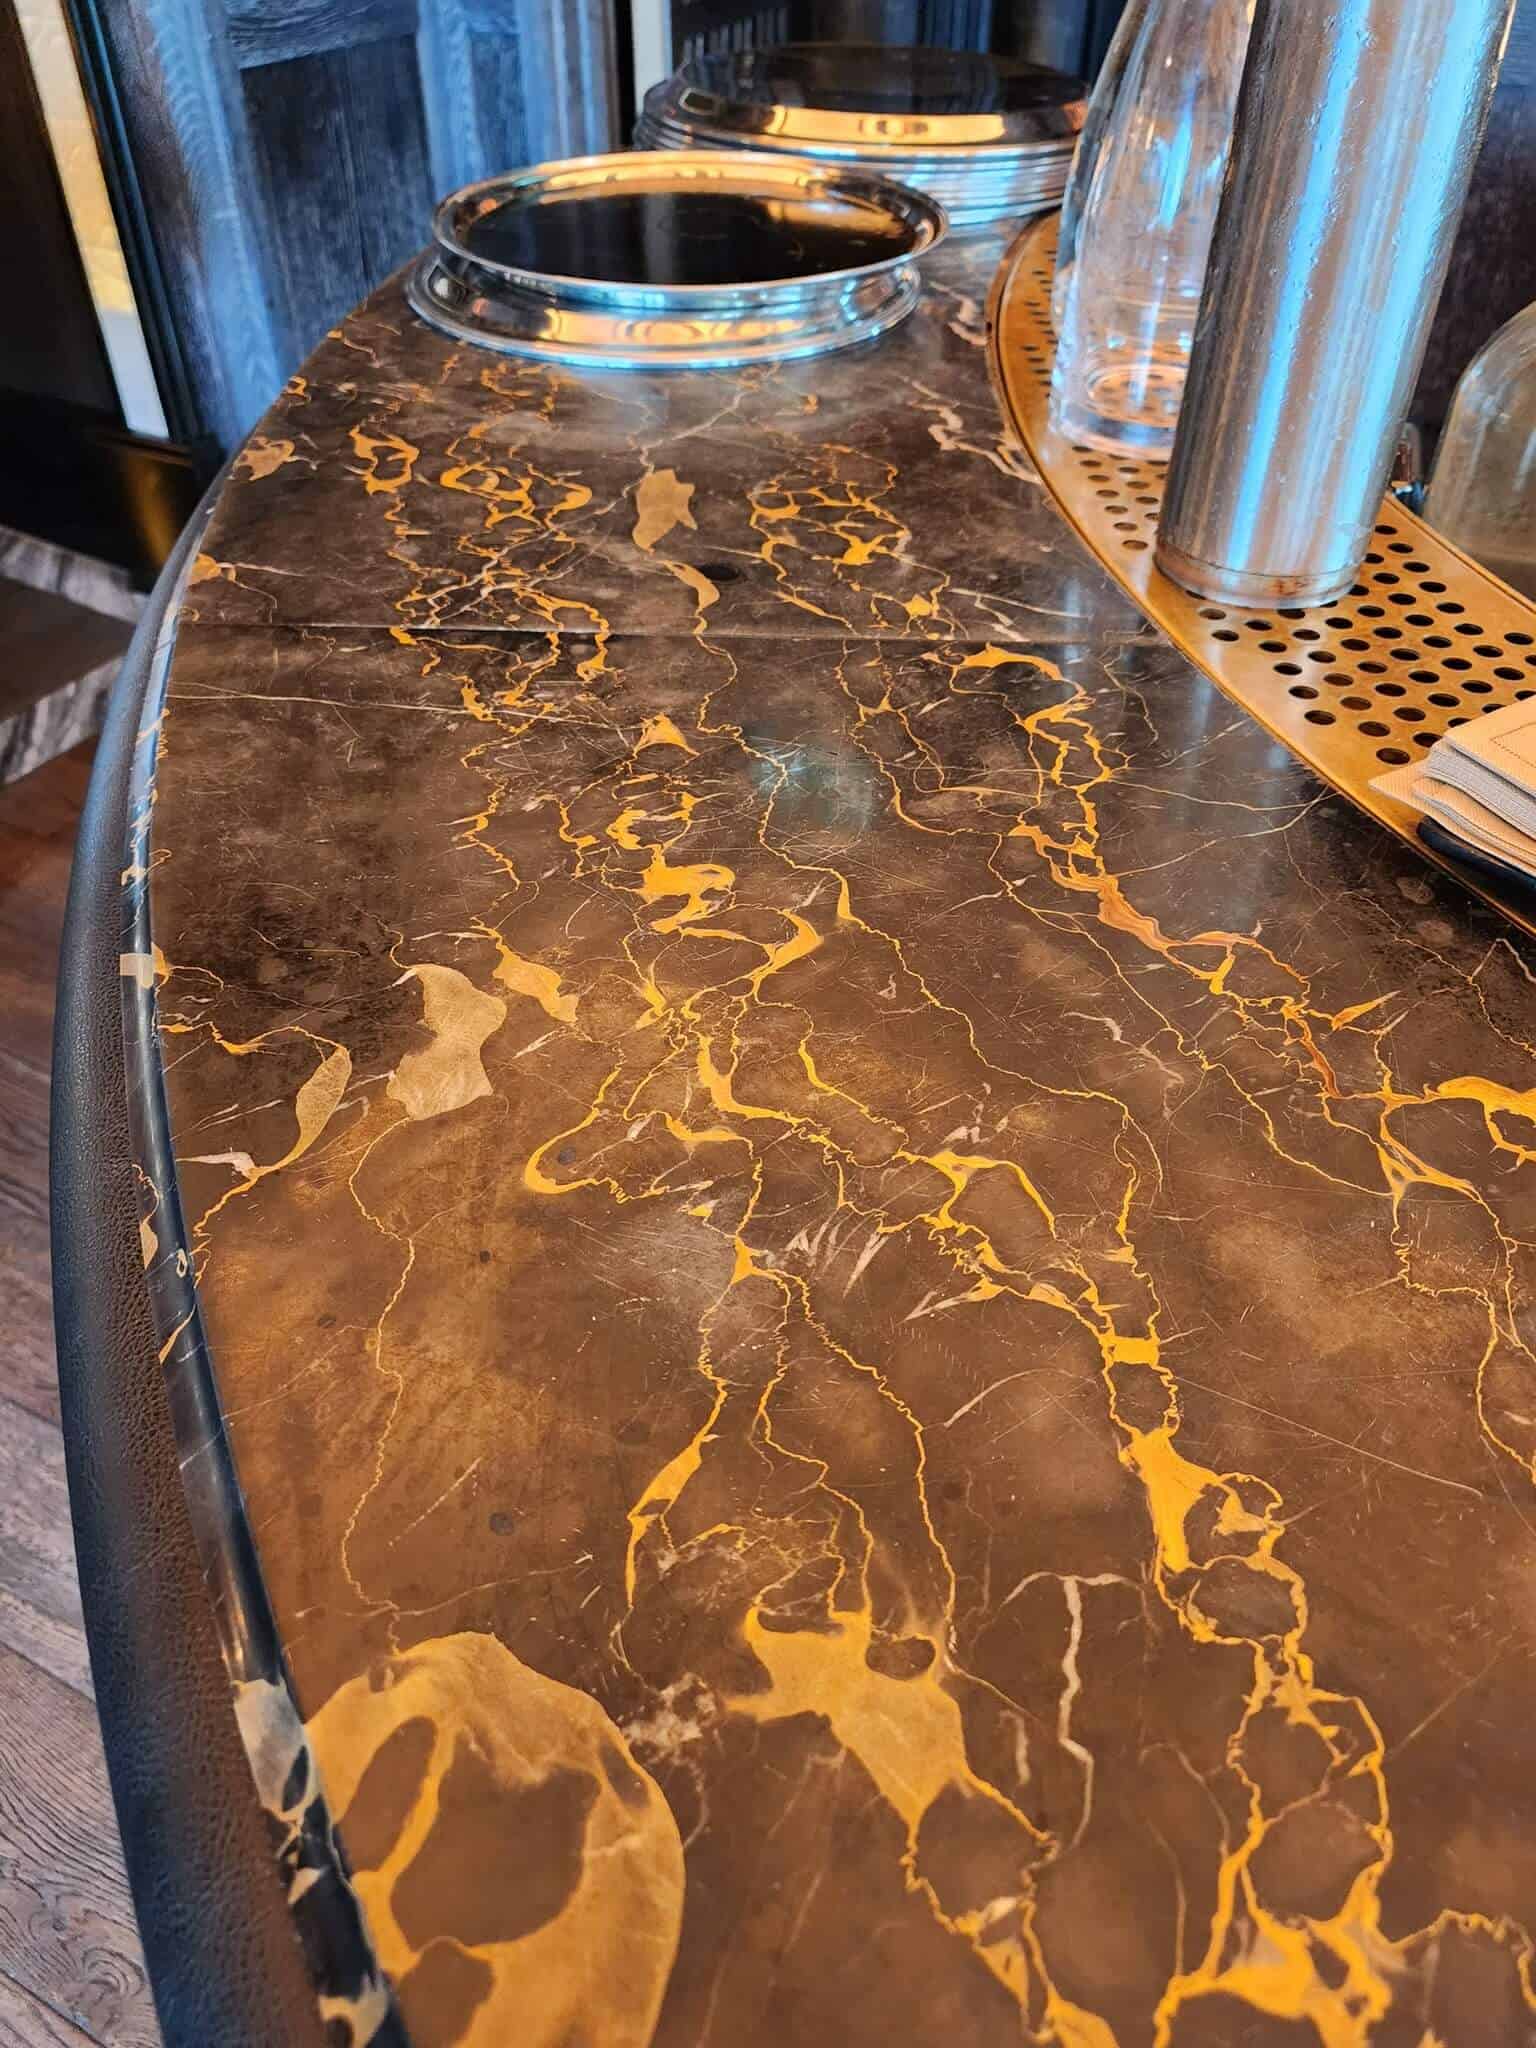
BEFORE
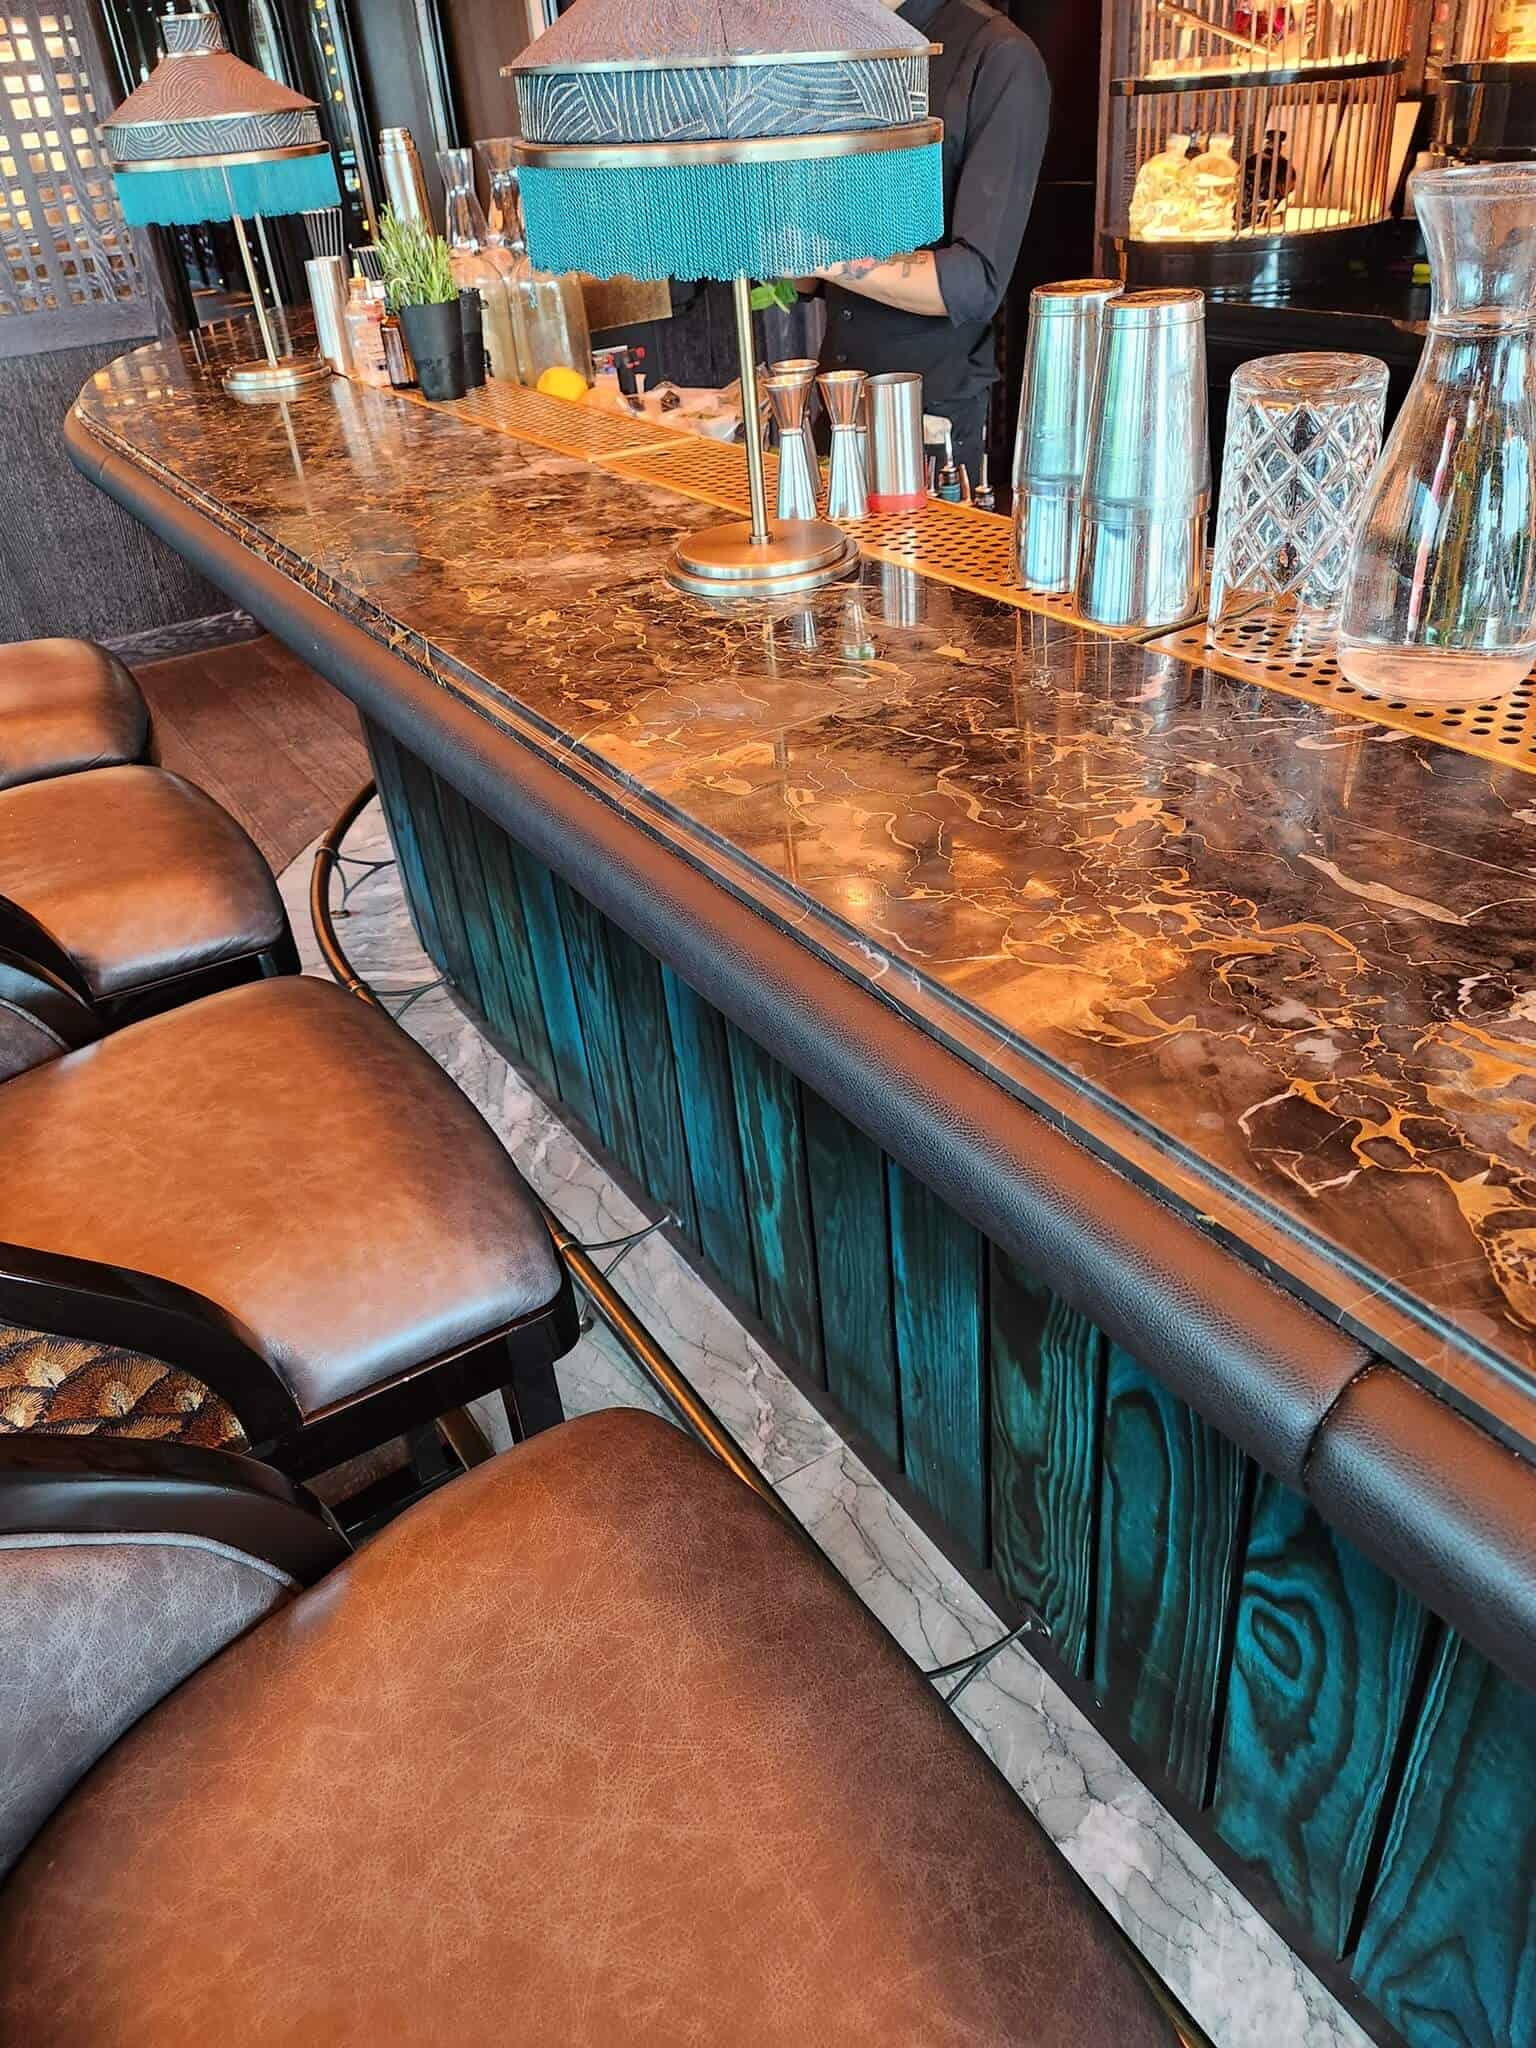
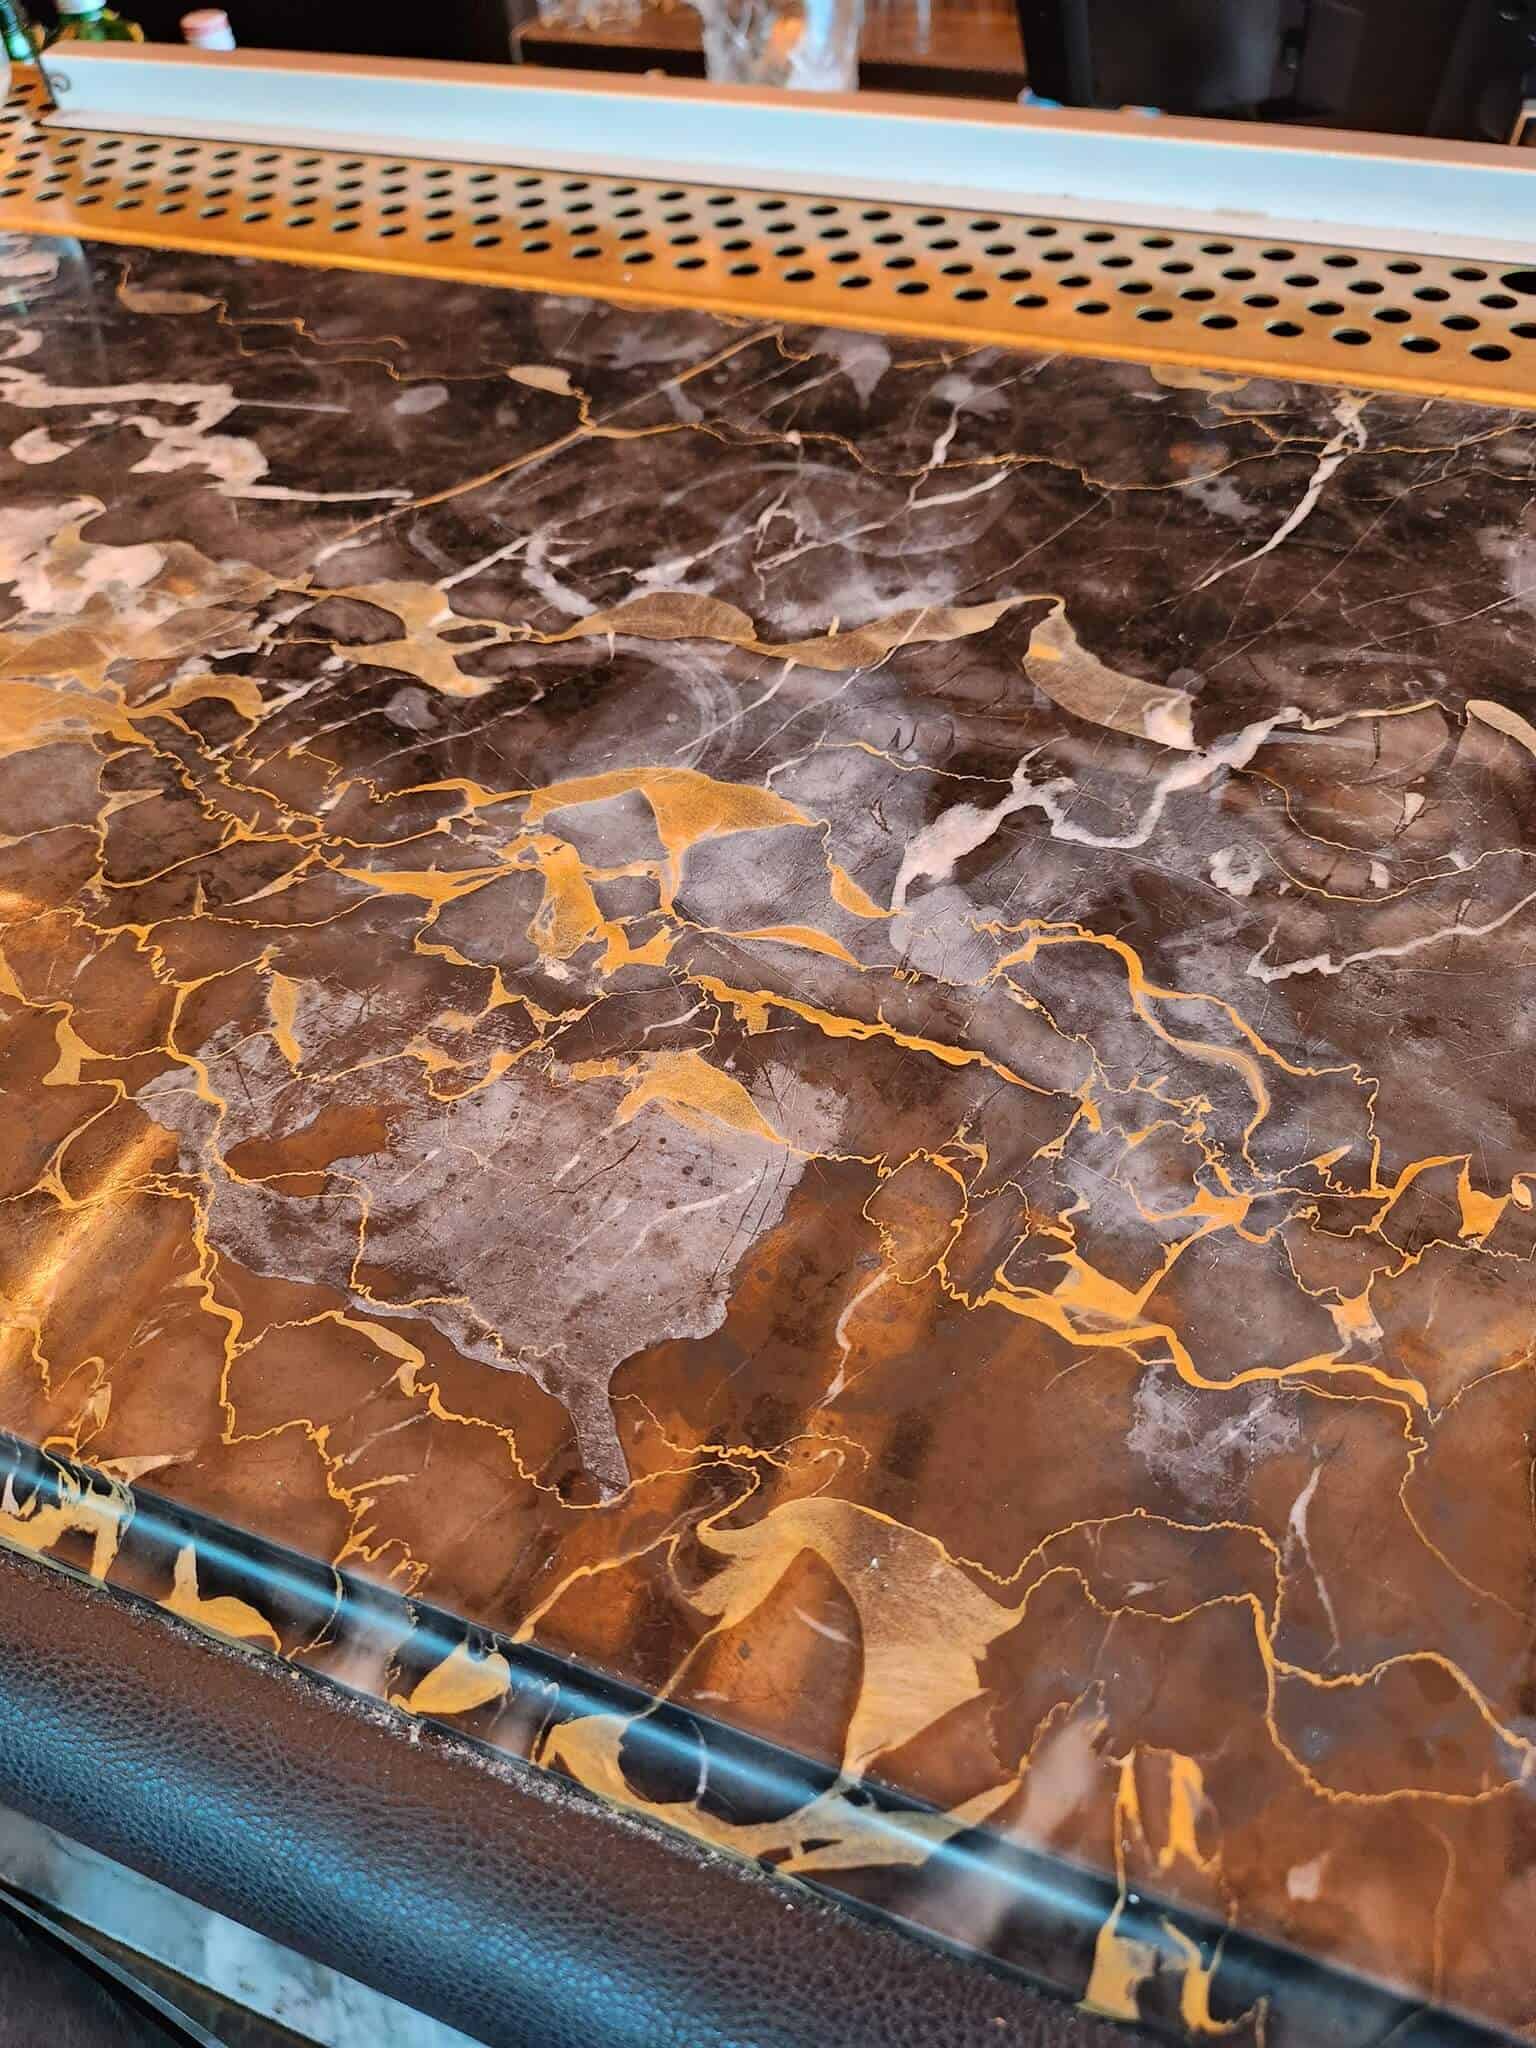
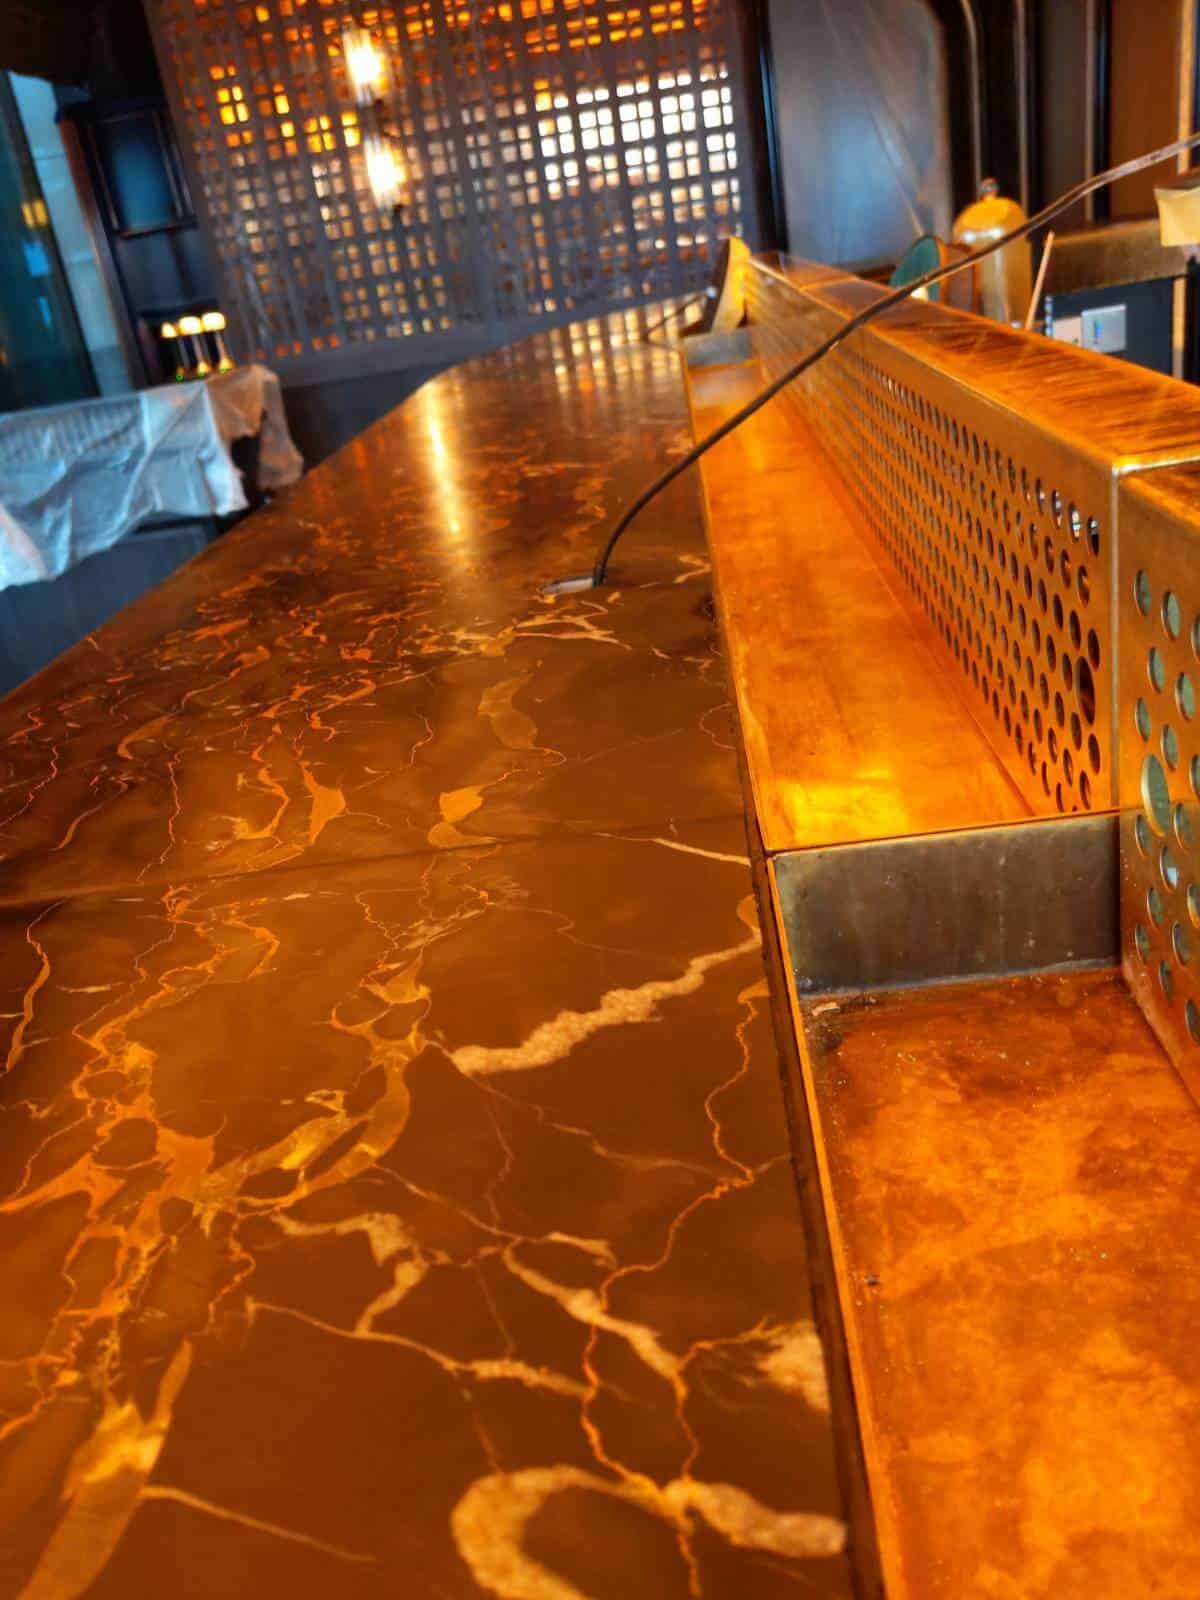
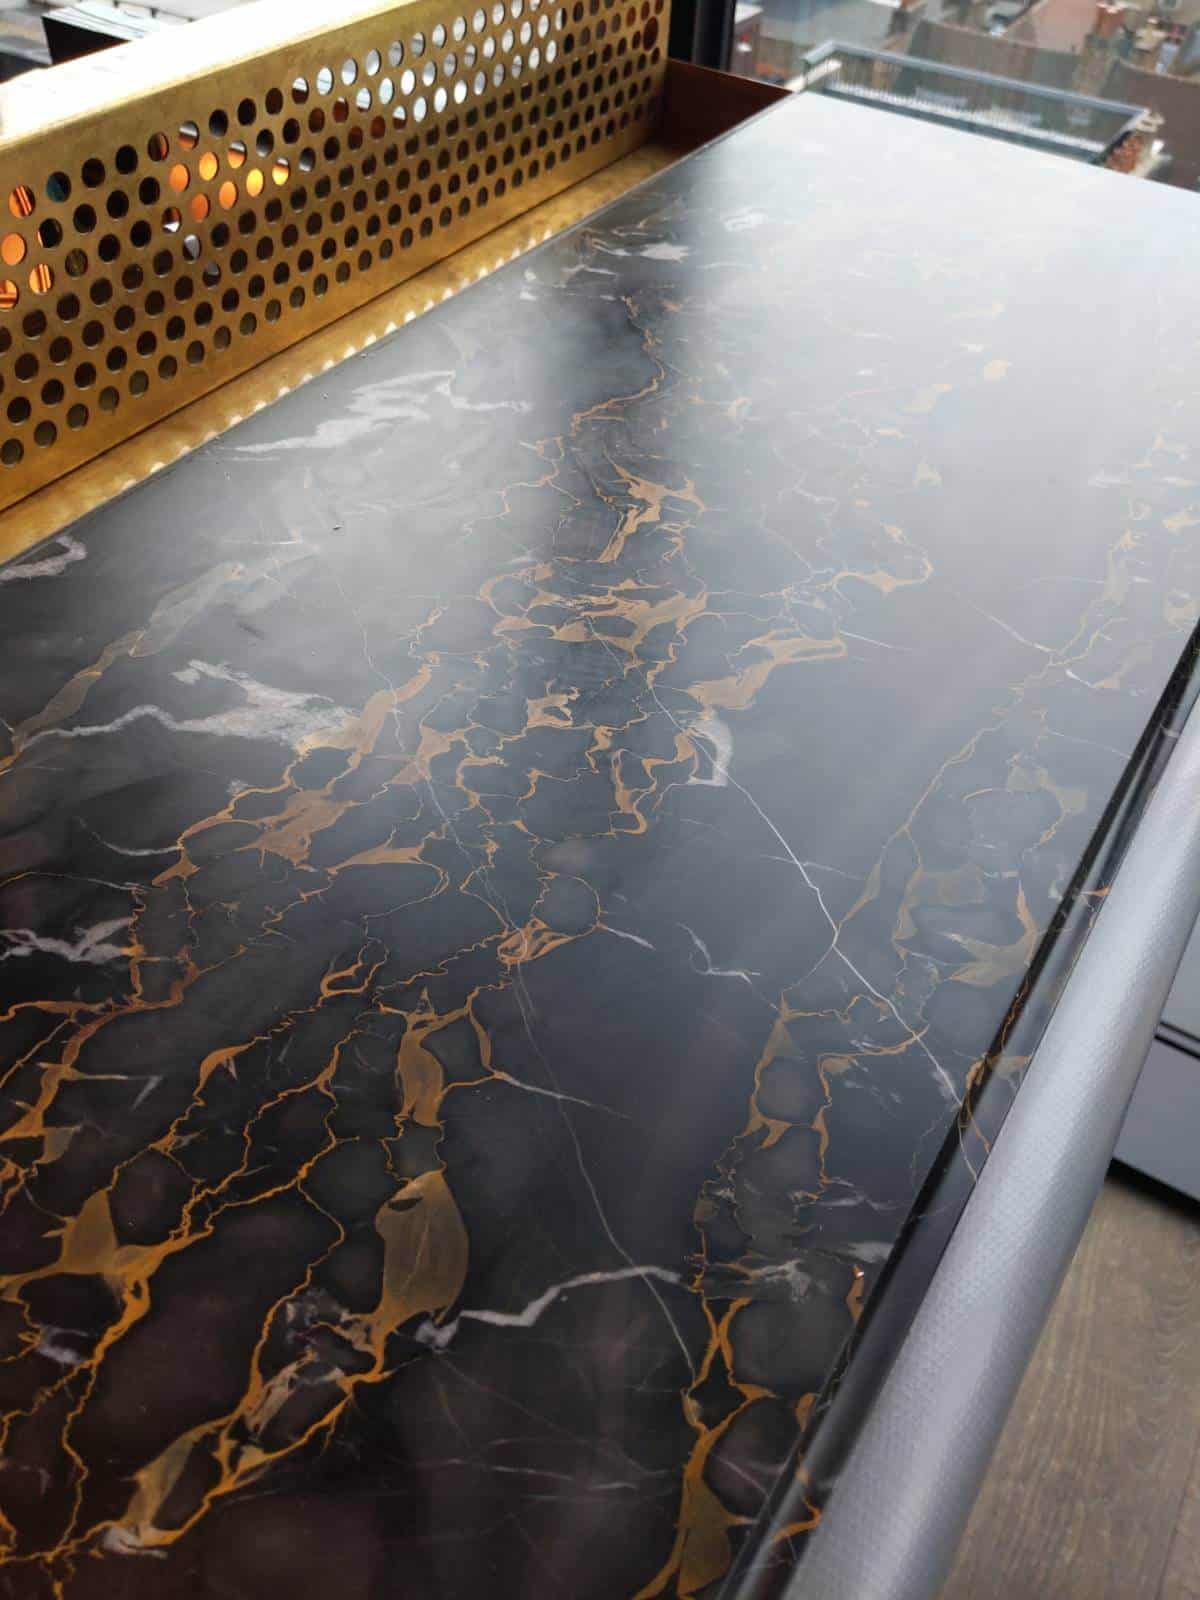
AFTER
Step 1: Surface Assessment
Before commencing the restoration process, thoroughly assess the condition of your marble bar.
Identify areas with etch marks, missing grout, and scratches, which are common issues that can mar the appearance of your bar.
Step 2: Safety Precautions
Wearing appropriate personal protective equipment (PPE) is crucial when working with diamond abrasives.
Safety goggles, gloves, and a well-ventilated workspace are essential to protect yourself during the restoration process.
Step 3: Removing Etch Marks
Acidic substances frequently cause etch marks, which can dull the marble’s surface. To remove these blemishes, artificial diamond abrasives with a lower grit level are used in combination with water.
The technician will carefully work on the affected areas until the etch marks are no longer visible, maintaining a consistent and uniform finish.
Step 4: Replacing Missing Grout
Inspect the grout lines on your marble bar. If you notice missing or damaged grout, it’s essential to replace it to ensure structural integrity.
Carefully remove the damaged grout and replace it with a matching colour and type, leaving a clean and uniform appearance.
Step 5: Eliminating Scratches
Scratches on marble surfaces can be unsightly, but they can be skillfully removed.
Technicians will use artificial diamond abrasives with progressively finer grits and water to polish away the scratches, revealing the marble’s natural lustre. This process requires expertise to maintain a smooth and uniform finish.
Step 6: Application of Topical Etch-Resistant Sealant
To protect your beautifully restored marble bar, apply a topical etch-resistant sealant.
This sealant forms a protective barrier on the surface, guarding it against future etching and staining while maintaining the marble’s elegant appearance.
Follow the manufacturer’s instructions for the correct application and drying time.
Step 7: Final Inspection and Cleaning
Once the restoration and sealing processes are complete, thoroughly inspect the marble bar to ensure that all etch marks, scratches, and missing grout have been addressed.
Clean the surface to remove any remaining residue and reveal the full splendor of your marble bar.
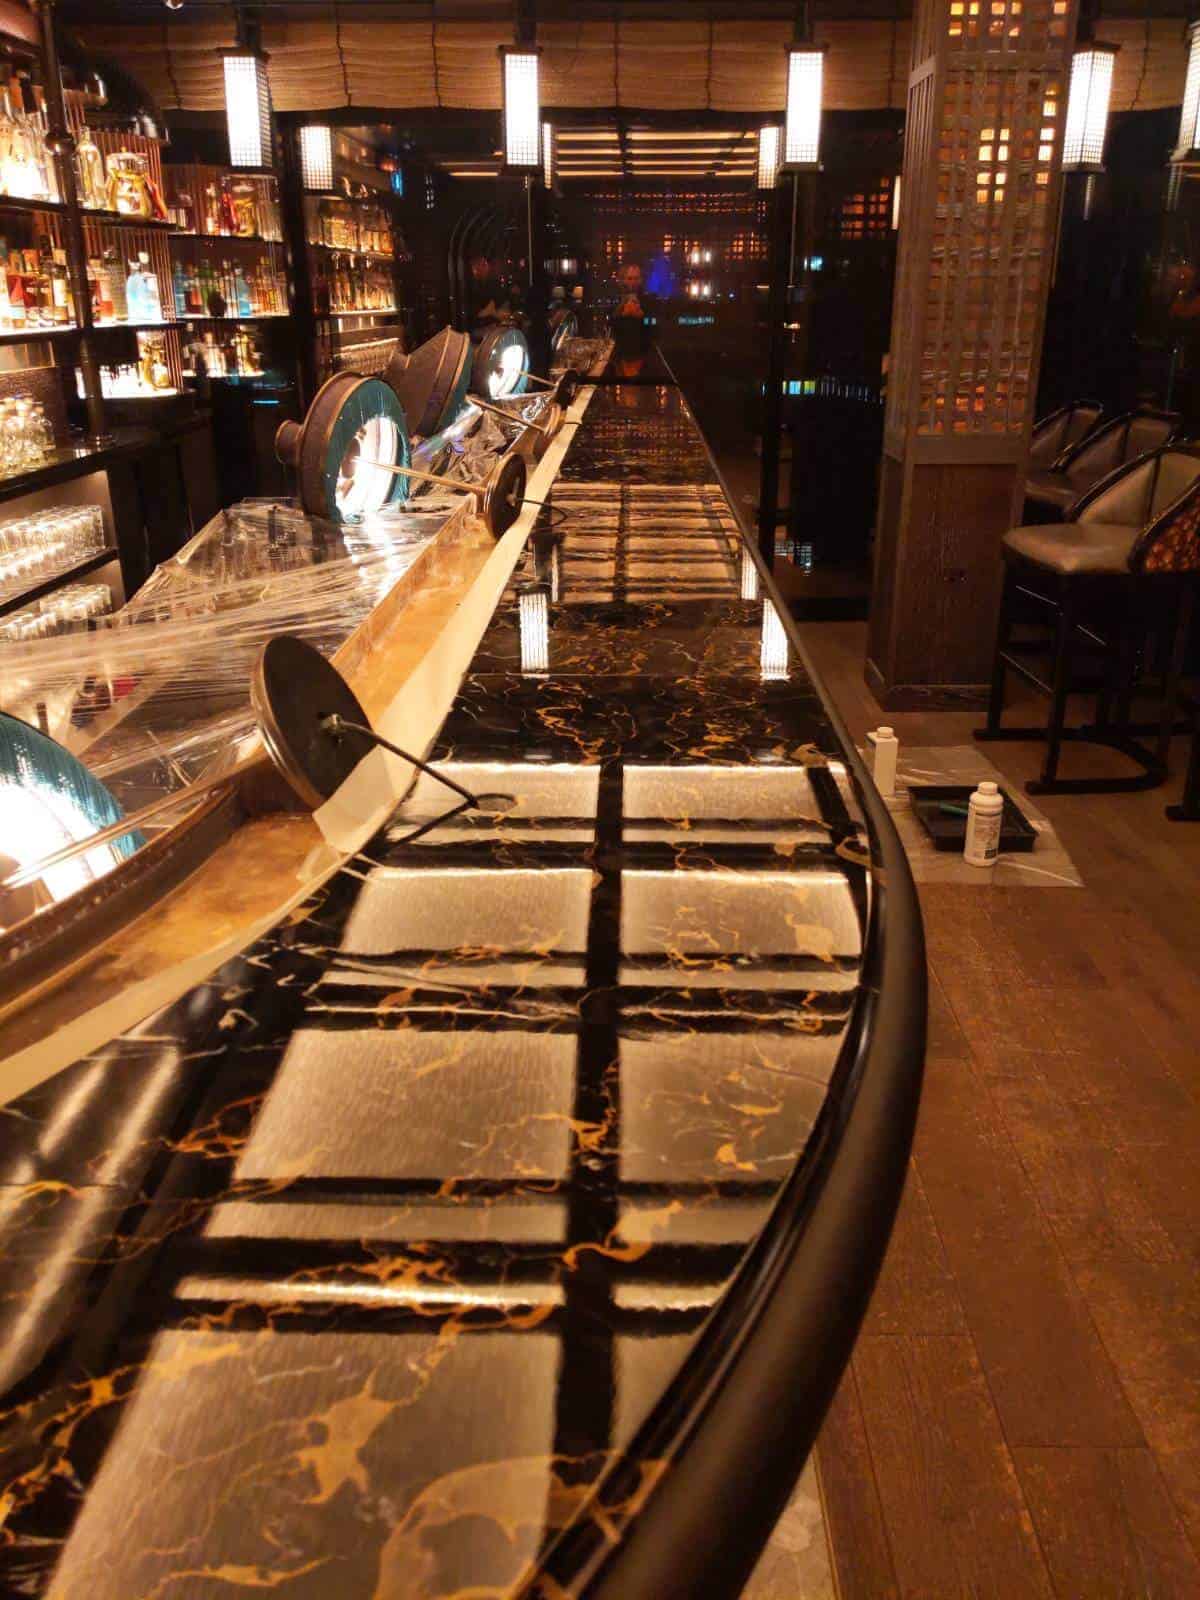
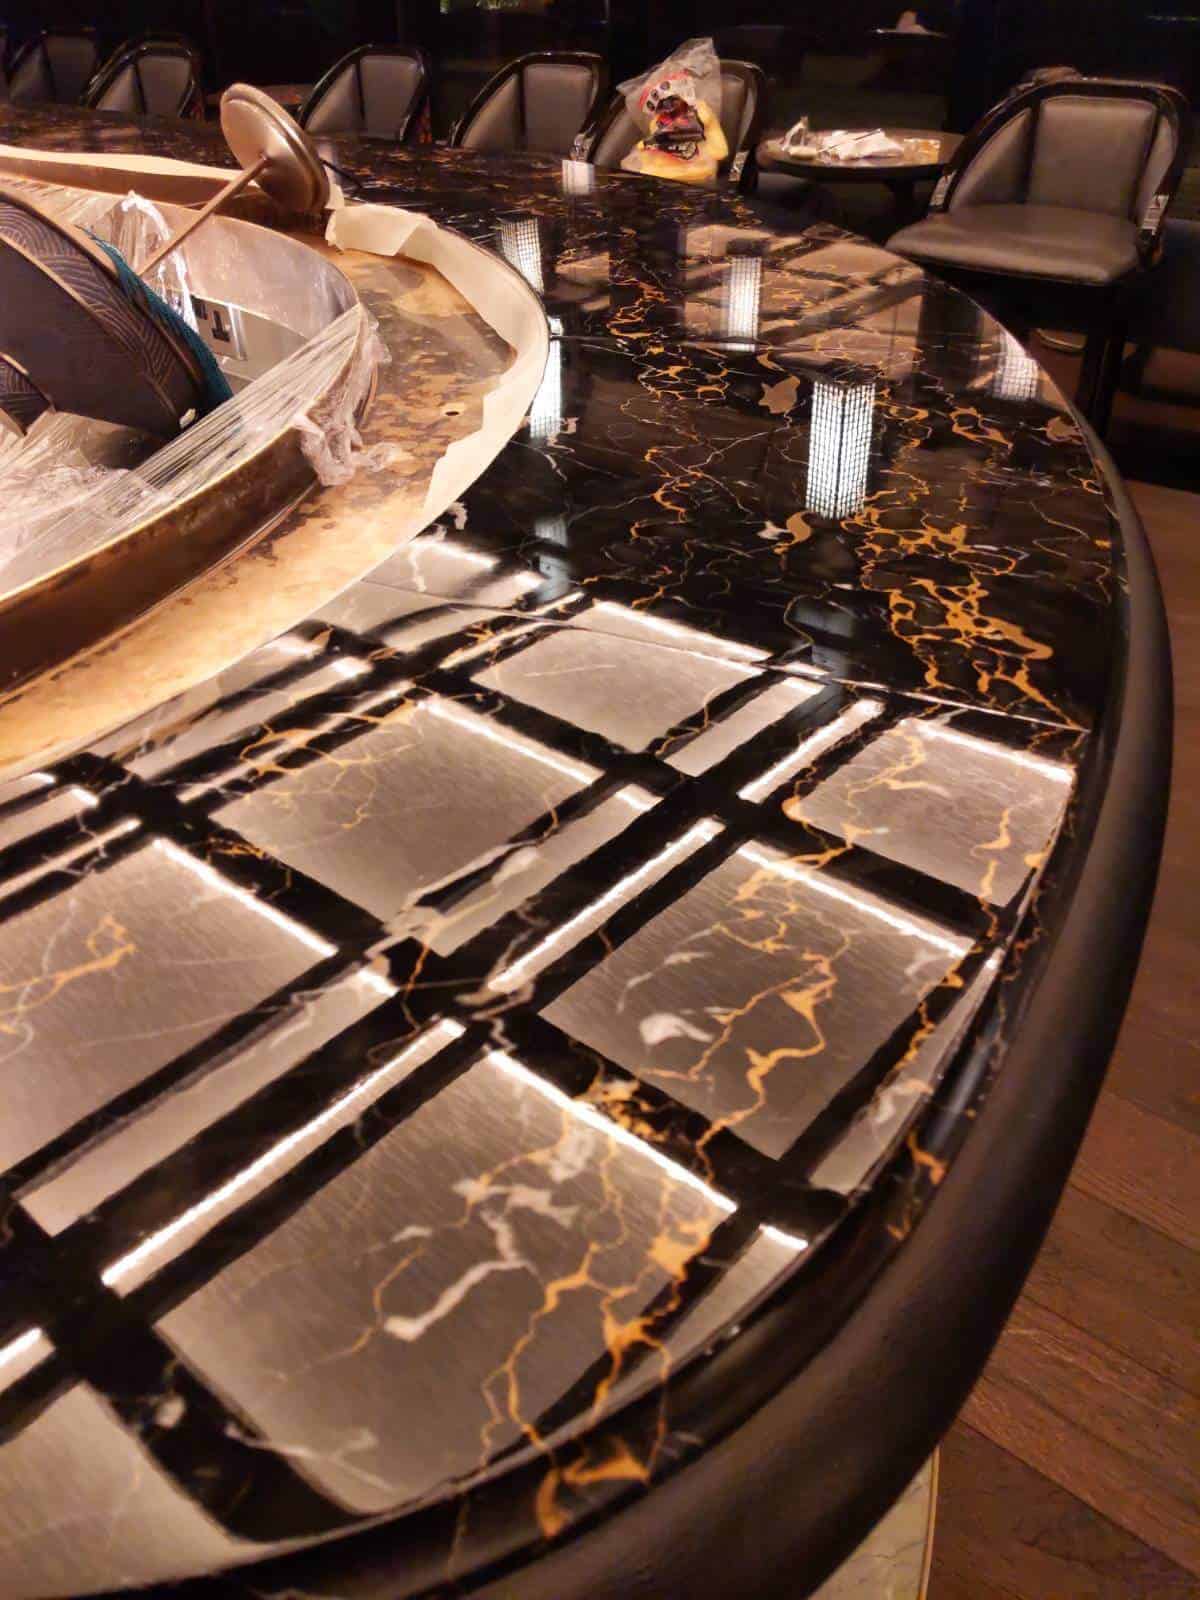
Pictures