Description: Repairing Stone Blocks
Location: South London


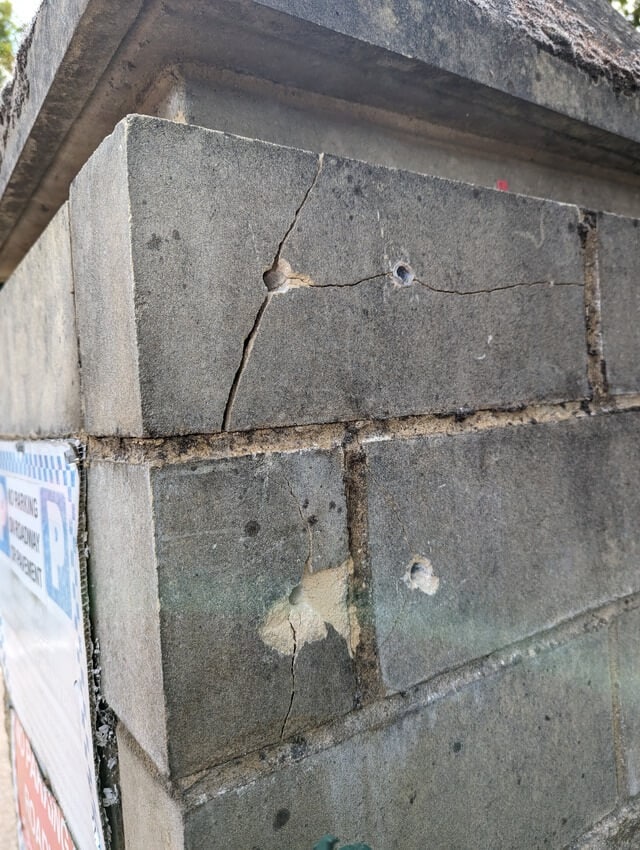
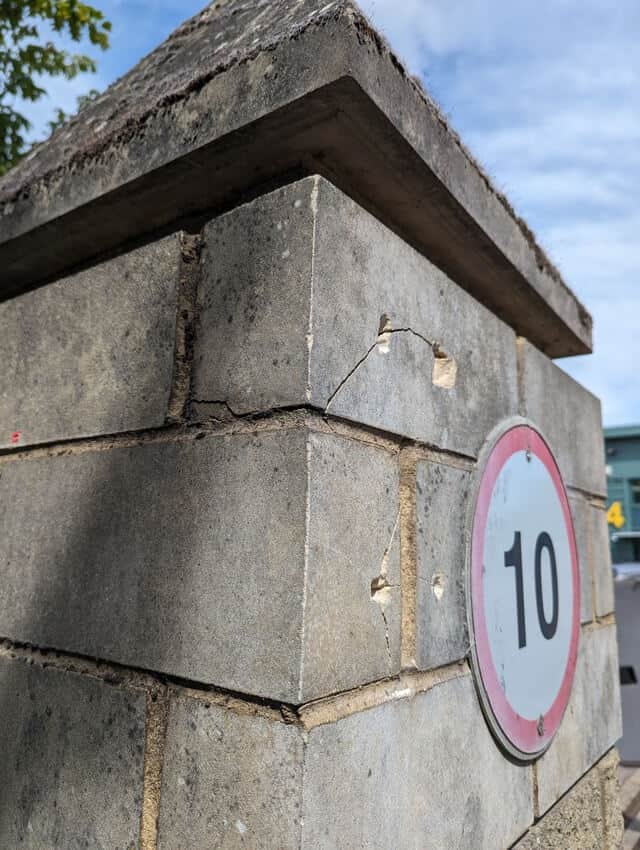
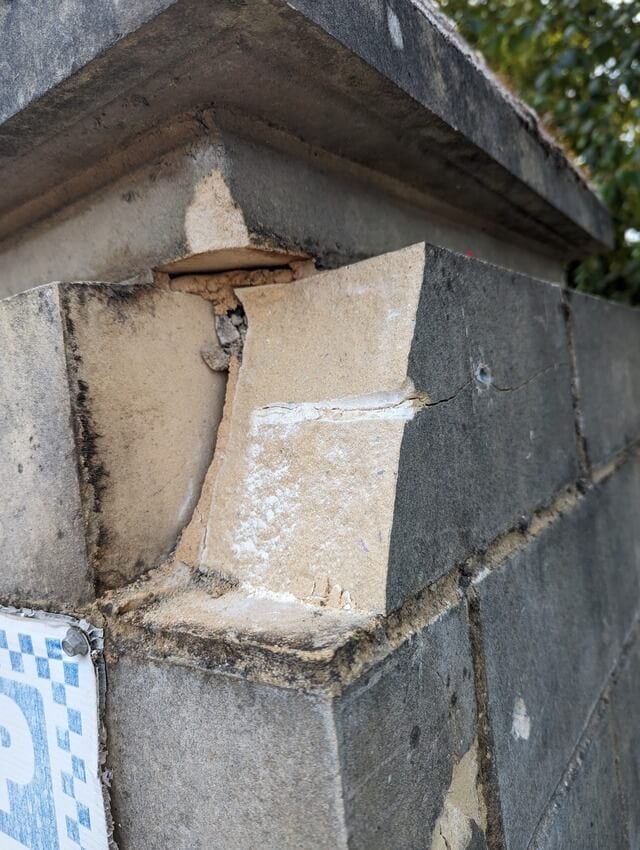
Stone structures, whether ancient relics or modern installations, are cherished for their aesthetics, durability, and timeless beauty. However, over time, environmental factors, wear and tear, or substandard construction can cause these stone blocks to deteriorate. Cracks, chips, and loosening of the stones can compromise not only the aesthetics but also the structural integrity of the stone blocks. Thankfully, advancements in stone repair technology have allowed us to rectify these imperfections seamlessly.
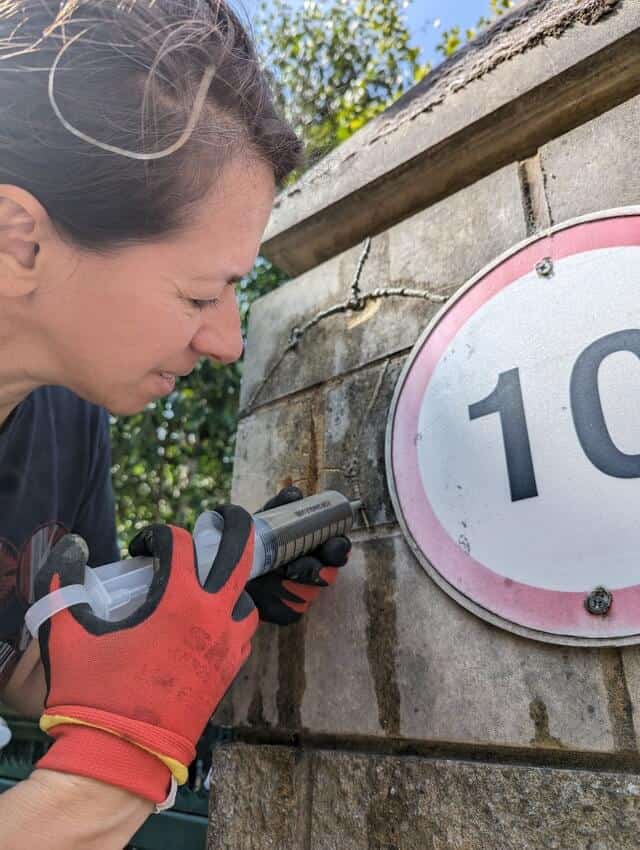
1. Injecting a Resin Compound to Stabilise the Loose Stone
Before any cosmetic repair can take place, it’s vital to ensure that the stone blocks are stable.
Materials Needed:
- Resin compound designed for stone repair
- Injection equipment (e.g., syringes or specialised pumps)
- Drilling equipment (if necessary)
Procedure:
Assess the Stone: Determine which stones are loose and need stabilisation.
Prepare the Stone: Clean the area surrounding the loose stone to ensure proper adhesion of the resin.
Drill Injection Points (if required): For deeper penetration, you may need to drill small holes into the stone, ensuring they lead to the voids or spaces needing the resin.
Inject the Resin: Using the injection equipment, carefully fill the voids or spaces with the resin compound.
Let it Cure: Allow the resin to set according to the manufacturer’s instructions. This will bond the stone securely in place.
2. Filling up the Cracks and Chips that occurred in the Blocks
Materials Needed:
- Stone filler or epoxy resin
- Spatula or filler knife
- Sandpaper
Procedure:
Clean the Area: Ensure the cracks and chips are free from dust, debris, and moisture.
Mix the Filler: If your chosen product requires it, mix it as per the manufacturer’s specifications.
Apply the Filler: Using a spatula or filler knife, carefully fill the cracks and chips in the stone. Ensure that the filler is smoothed out and is level with the stone’s surface.
Sanding: Once the filler is cured, lightly sand the area to ensure it’s smooth and flush with the stone’s surface.
3. Colour Blend the Repairs to Match the Rest of the Stone
Materials Needed:
- Stone colourant or tinted sealant
- Paintbrushes
- Clear sealant (optional)
Procedure:
Choose the Right Colour: It’s crucial to select a colourant that matches the original stone colour as closely as possible. Some companies offer custom-mixed colourants for an exact match.
Apply the Colourant: Using a paintbrush, delicately apply the colourant over the repaired areas, blending it outwards to merge with the natural pattern of the stone.
Protect the Repair: Once the colourant has dried, it’s a good idea to apply a clear sealant over the repair to protect both the colour and the stone itself.
In conclusion, while natural stone is remarkably resilient, it is not entirely immune to damage. However, with the right tools, materials, and techniques, you can restore the stone blocks to their original glory, ensuring they remain a testament to timeless beauty and strength.
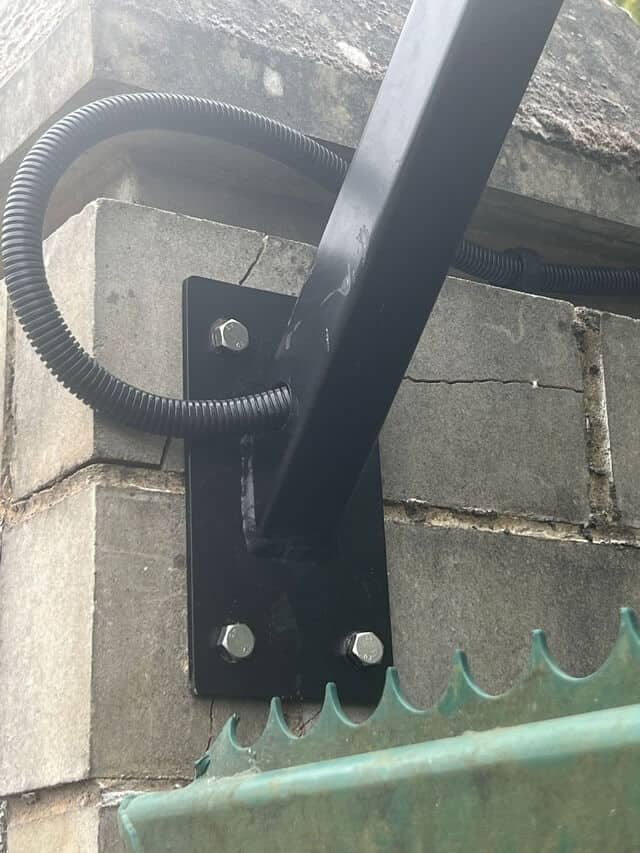
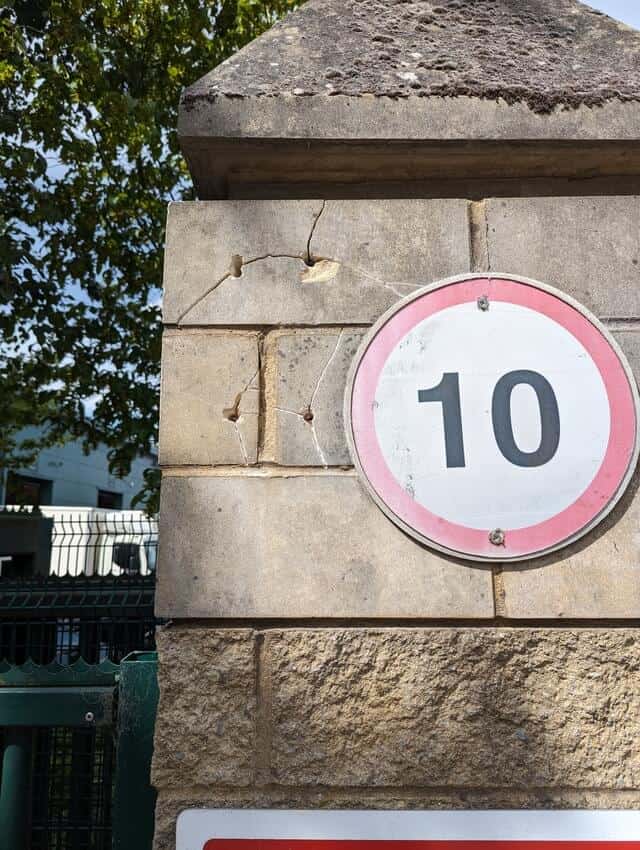
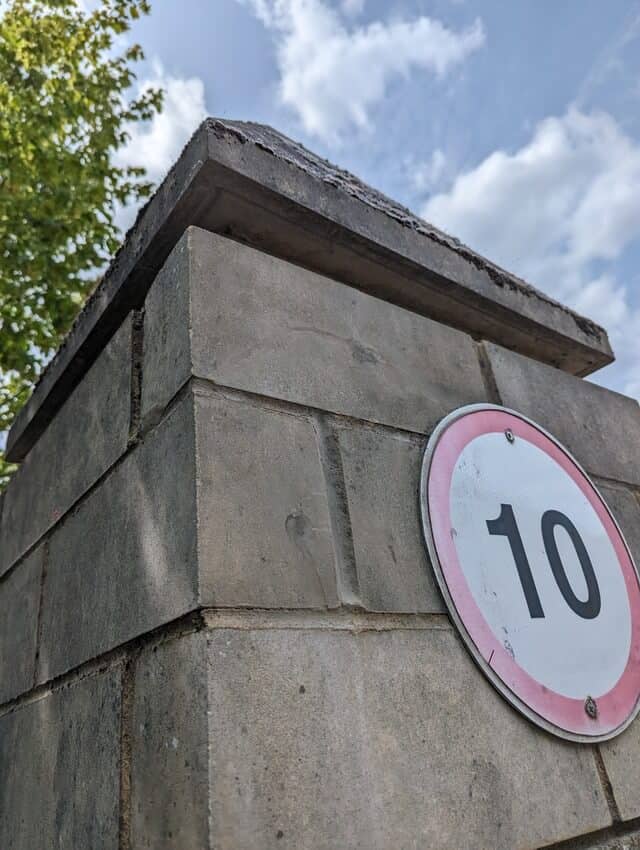
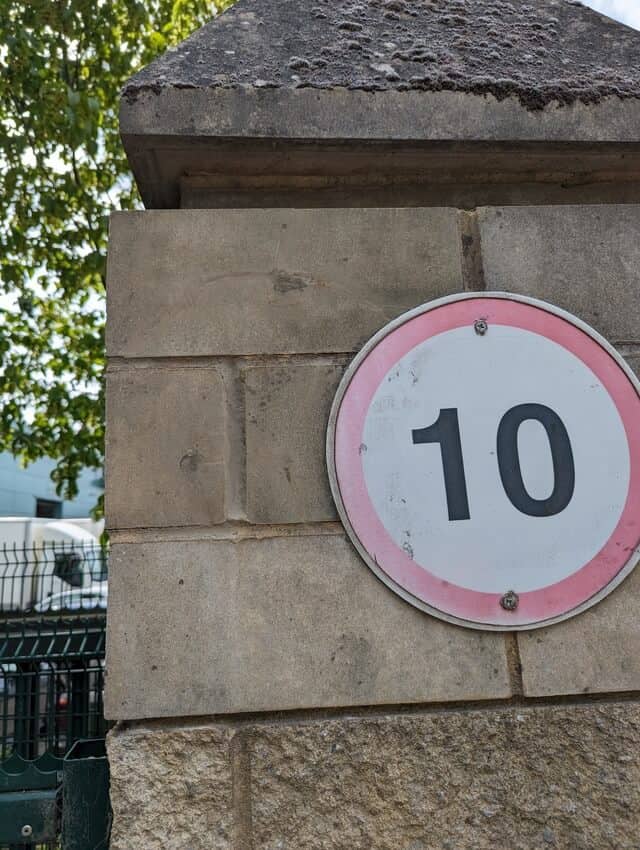
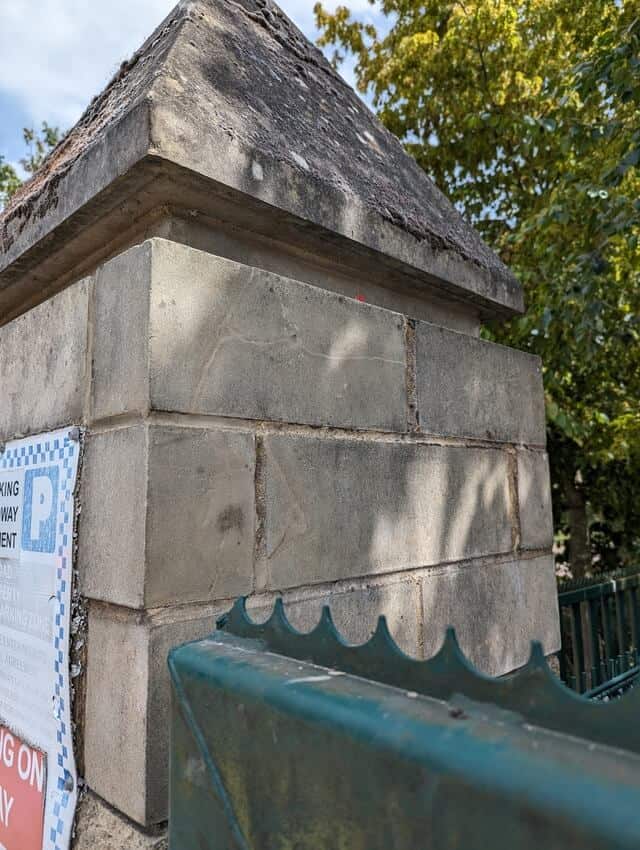
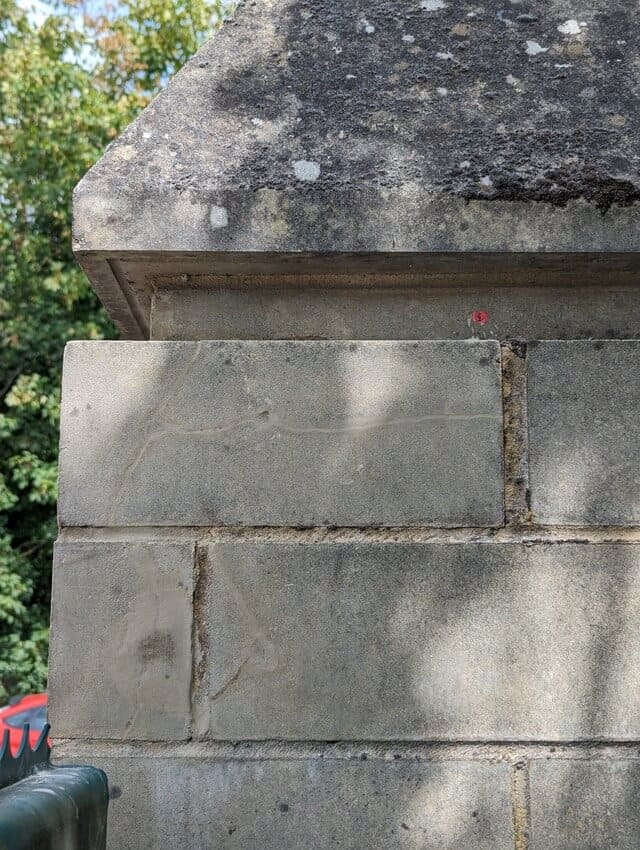
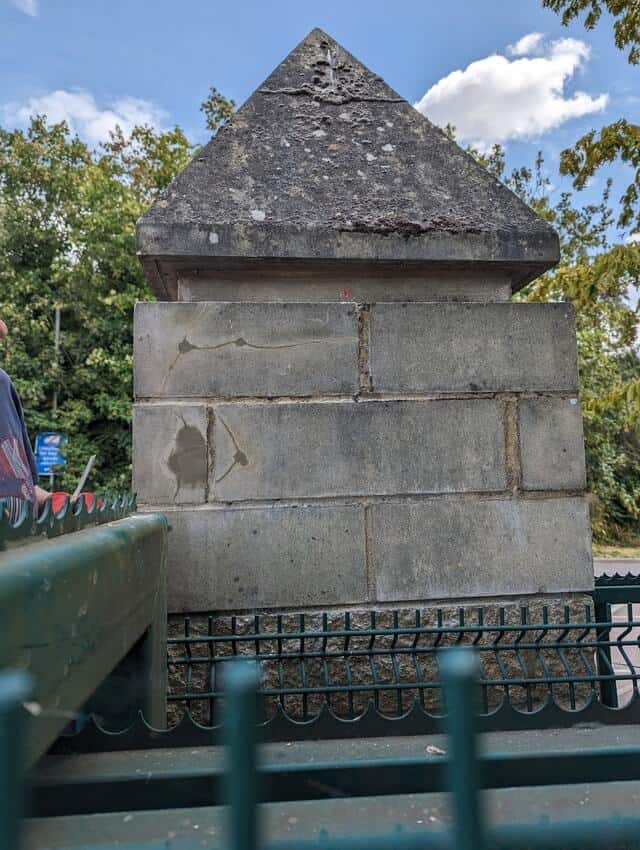
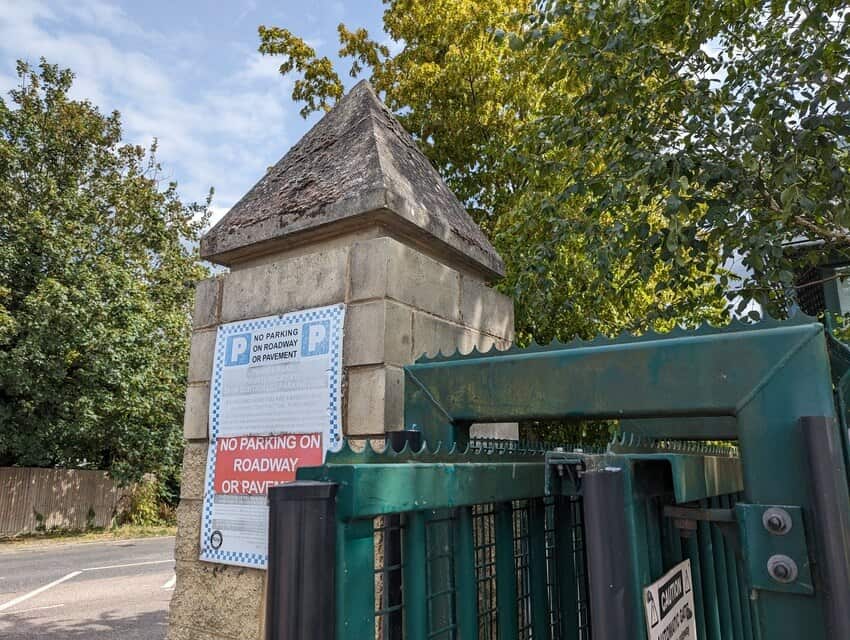
Before & After
Pictures