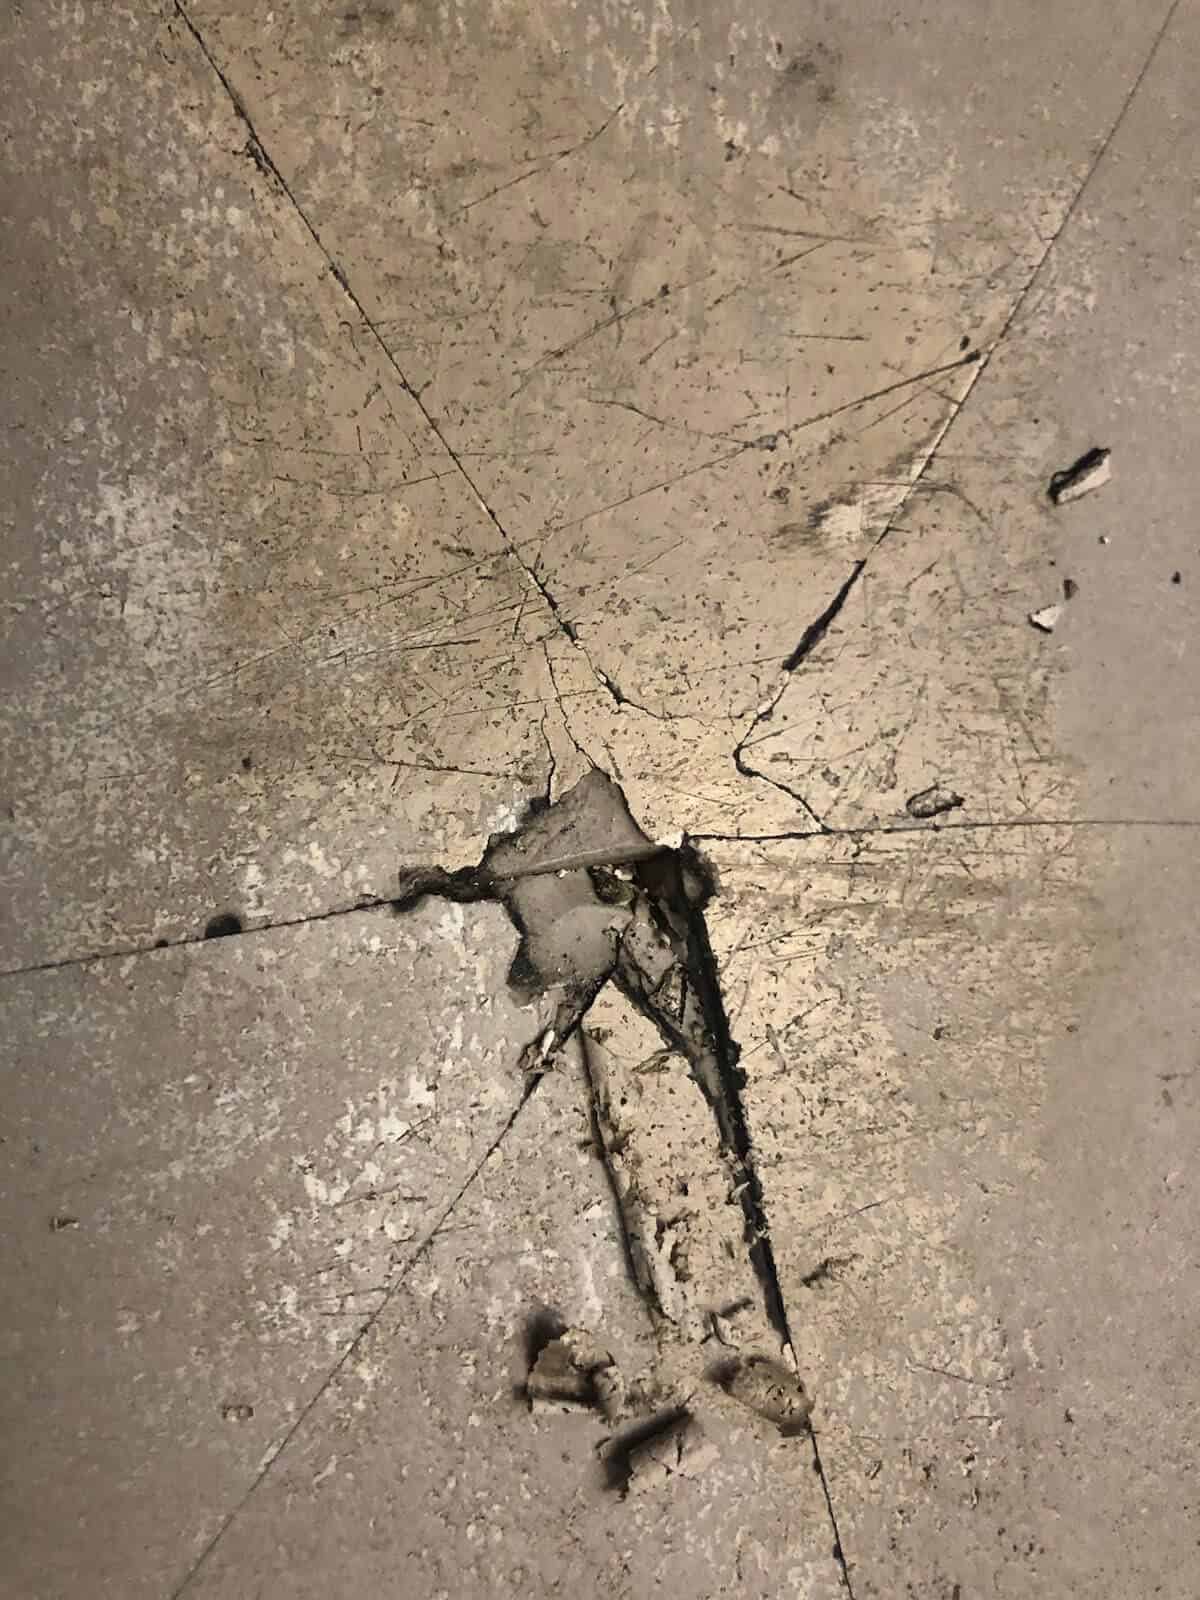
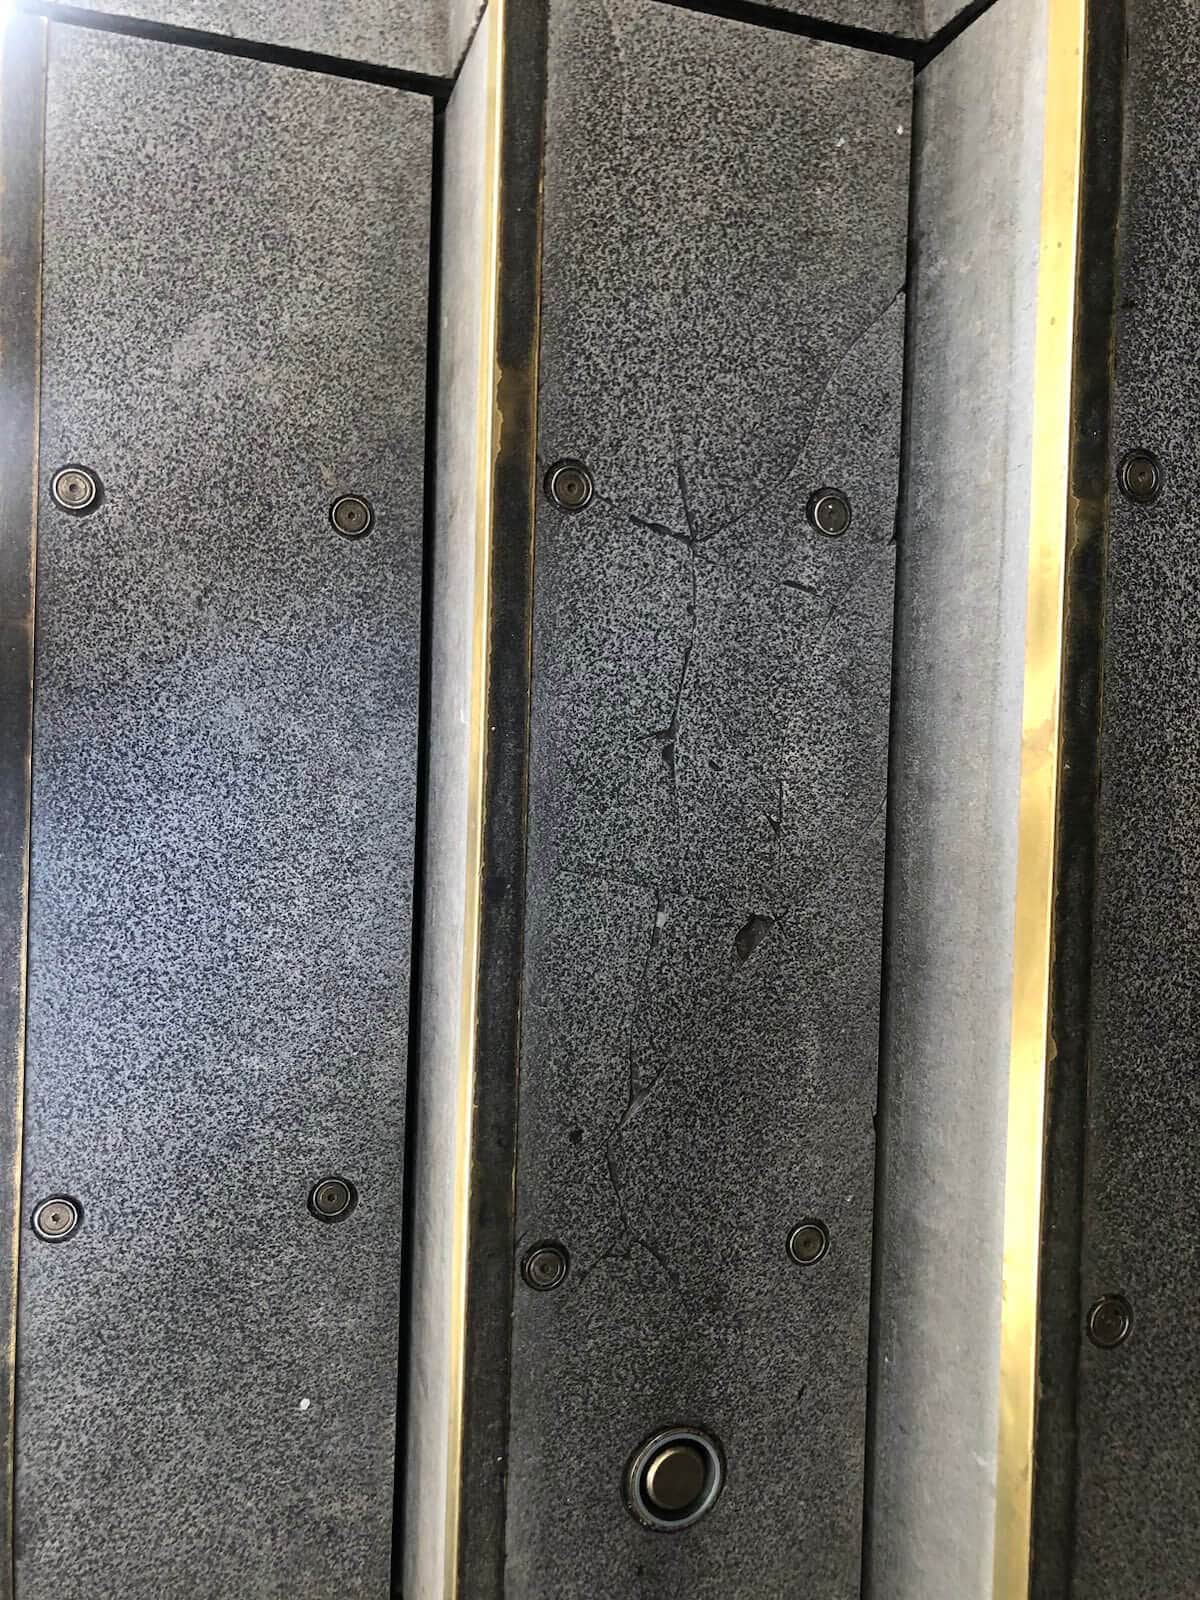
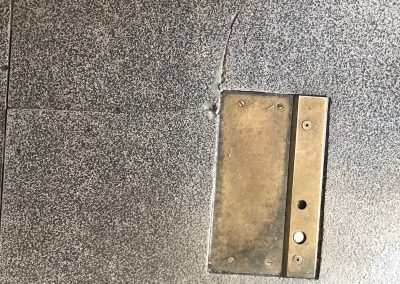
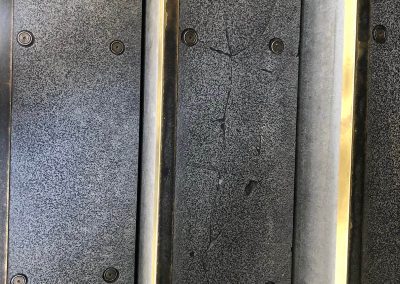
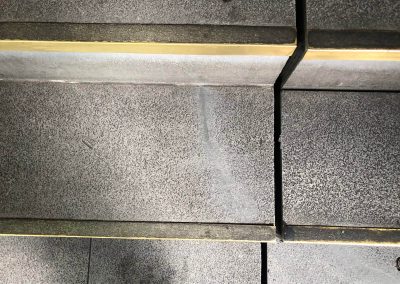
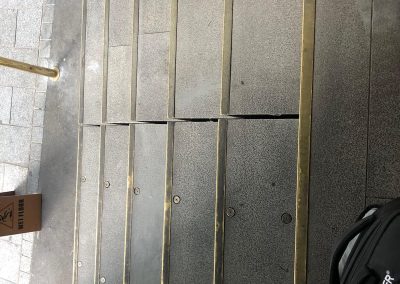
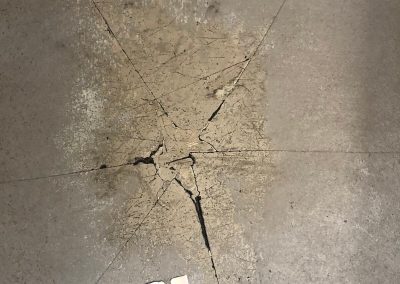
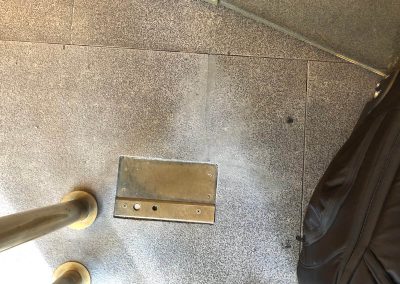
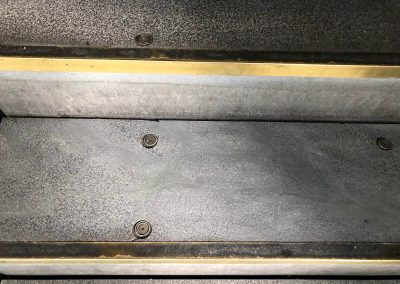
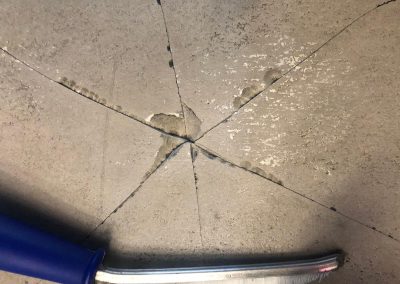
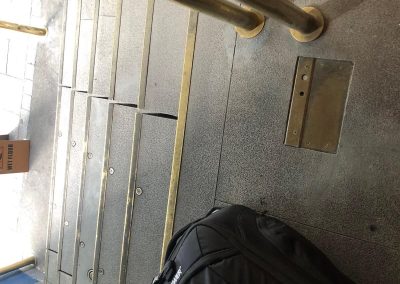
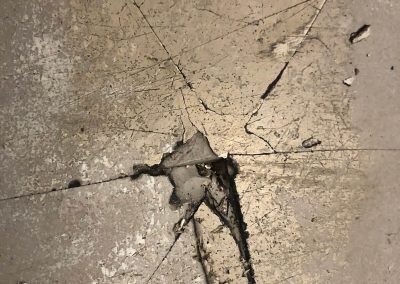
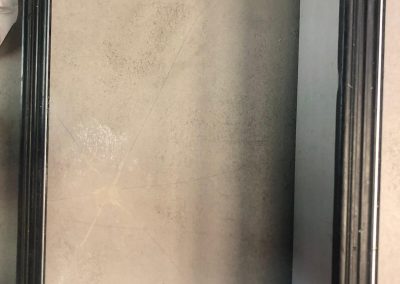
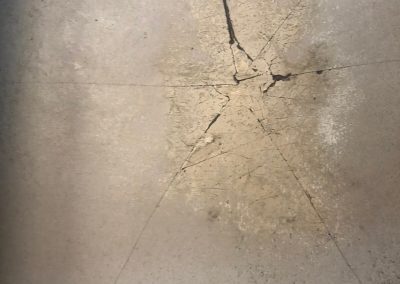
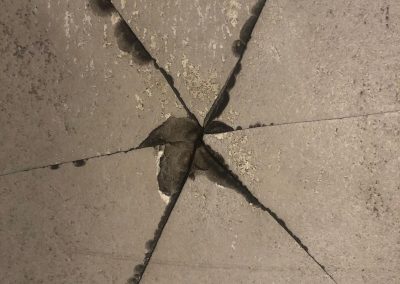
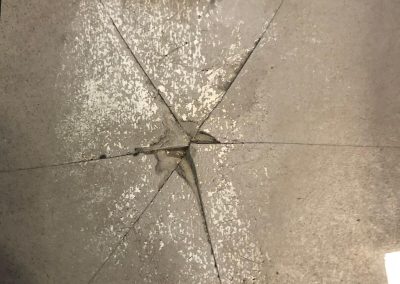
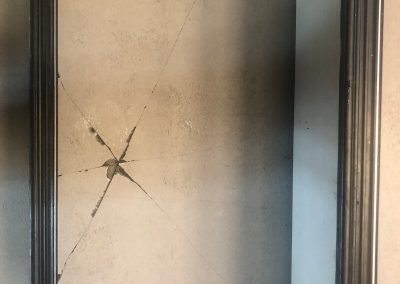
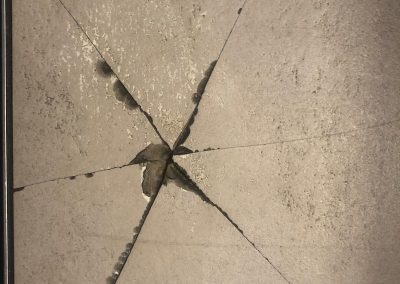
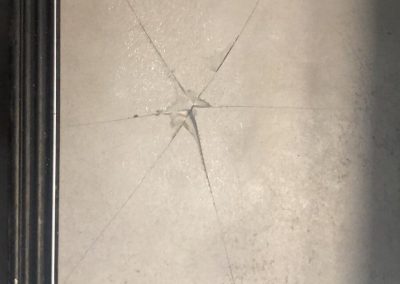
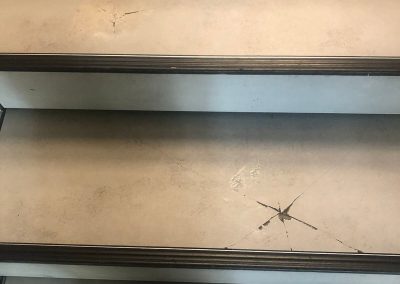
Description: Steps cracks repair
Repairing cracked tiles on the steps area with a stone filler compound requires a step-by-step process. Here’s a detailed explanation:
Deep cleaning: Start by thoroughly cleaning the stone surface surrounding the cracked tiles. Remove any dirt, dust, or debris using a broom or vacuum cleaner. For stubborn stains or grime, you can use a mild detergent or stone cleaner and a soft-bristle brush. Rinse the area with water and allow it to dry completely before proceeding.
Assessing the cracks: Examine the cracks on the tiles to determine their severity. In some cases, it may be necessary to open up the cracks slightly to ensure better adhesion of the filler compound. Use a small chisel or a specialised tool to widen the cracks slightly. Be cautious not to cause any further damage to the surrounding tiles or the stone.
Choosing the right filler compound: Select a stone filler compound that matches the colour and texture of the existing stone as closely as possible. Keep in mind that achieving a 100% colour match may not always be possible. Consult with a professional at a home improvement store or a supplier who can guide you in selecting the appropriate filler for your specific stone type.
Applying the filler: Mix the stone filler compound according to the manufacturer’s instructions. Using a putty knife or a specialised applicator, carefully fill the cracks in the tiles with the compound. Ensure that the compound is evenly distributed and fills the gaps completely. Smooth the surface of the compound using the putty knife, removing any excess material.
Drying time: The drying time of the stone filler compound may vary depending on the specific product. In some cases, the compound may dry within 10 minutes, while in other instances, it could take up to 24 hours to fully dry and cure. Follow the instructions provided by the manufacturer to determine the appropriate drying time for the specific filler compound you are using.
Colour matching limitations: It’s important to note that achieving a perfect colour match between the filler compound and the existing stone may not always be possible. Natural stone can have variations in colour and texture, and over time, exposure to sunlight and wear can further alter its appearance. It’s best to manage your expectations and understand that the goal is to minimise the visibility of the cracks rather than achieve an exact colour match.
Ceramic tile limitations: Compact ceramic tiles, particularly those with a smooth and non-porous surface, may pose challenges when it comes to adhesion of the stone filler compound. The smooth surface of ceramic tiles does not provide the necessary texture for the filler to adhere effectively. In such cases, repairs using stone filler may not be suitable. It’s advisable to consult with a professional to explore alternative repair options for ceramic tiles.
Remember, if you’re uncertain about performing the repairs yourself or if the damage is extensive, it’s recommended to seek the assistance of a professional stone restoration or tile repair service. They will have the expertise and tools to handle the job effectively and ensure the best possible outcome.


